- Login into your ResBook PMS account and select Settings > System Settings > Accounting and Financial
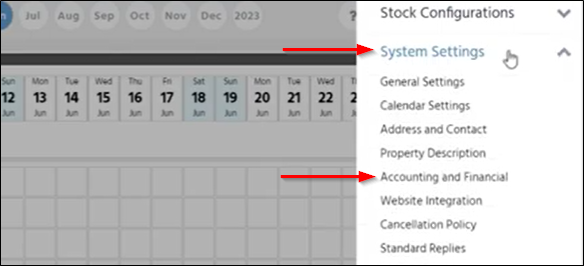
- Scroll to the bottom of the page to view the Credit Card Settings.
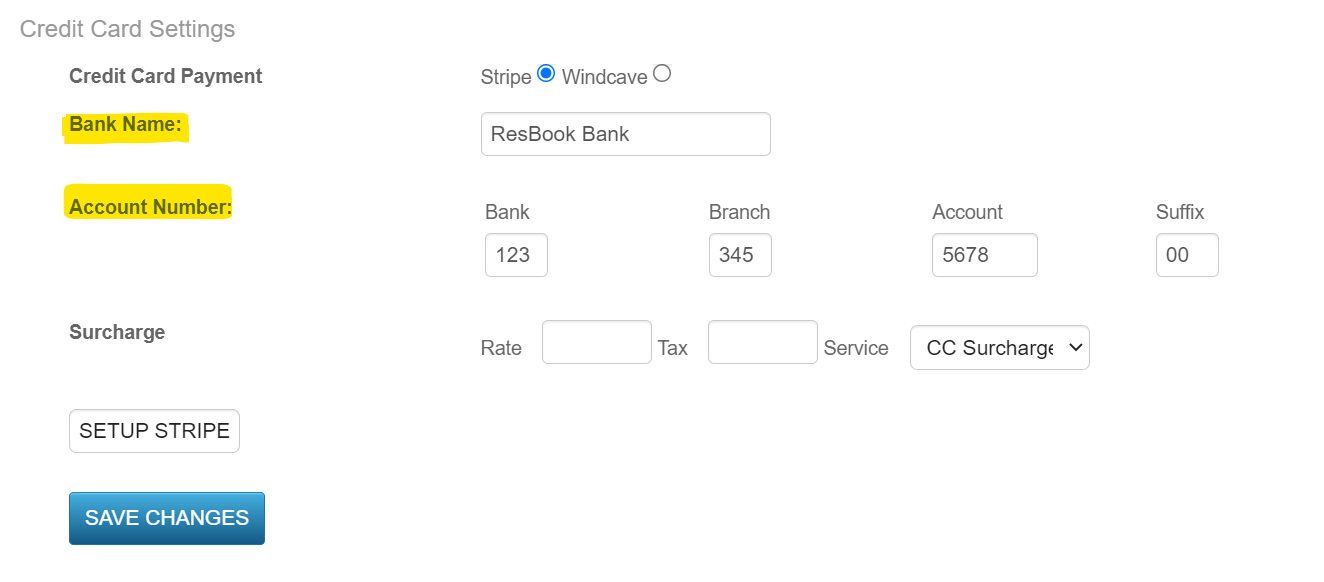
- Select the Stripe option:
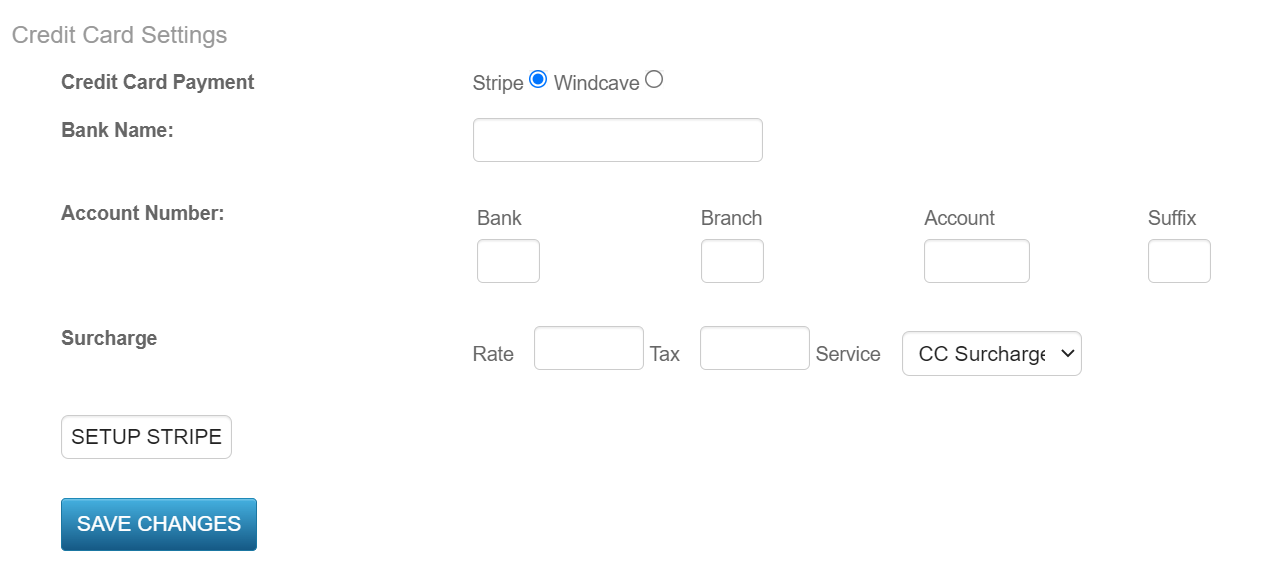
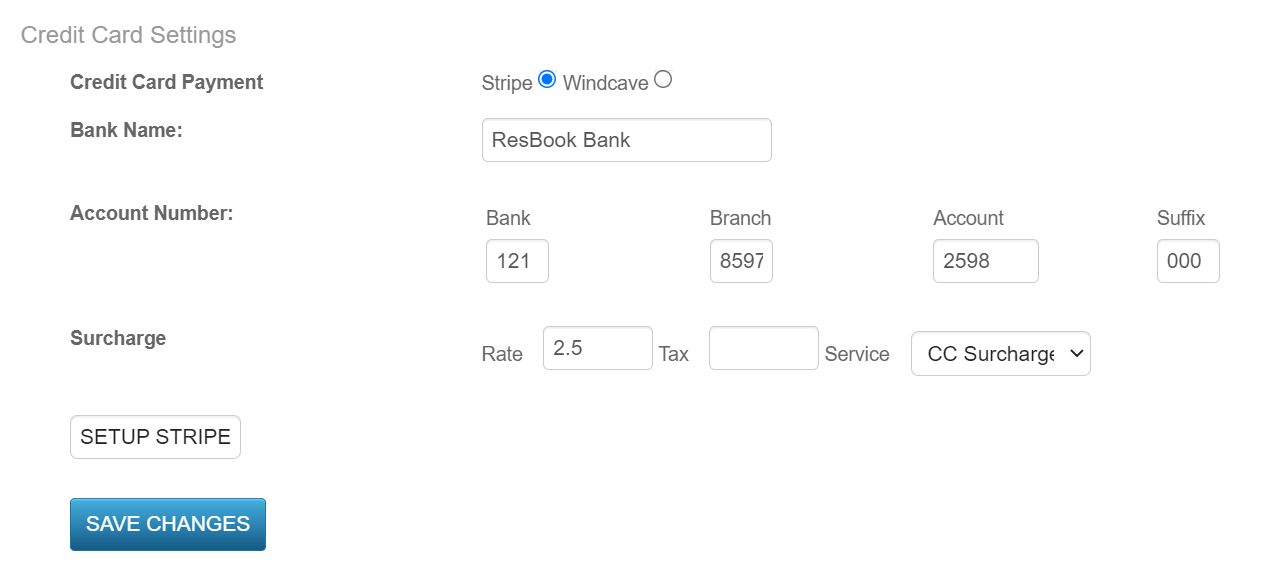
- Enter your Bank Name and Account Number:
- Enter the Rate or Tax you would like to have as the surcharge, then select the Service you would like this Surcharge attached to.
If there is no existing service for a surcharge and you would like to create one, follow CC Surcharge Setup
- Click on the SETUP STRIPE button
- Once selected, you will be connected to Stripe to complete the next steps in the Onboarding process. Before Stripe can process payments or payouts, you must complete this form on the Strip website.
Note: Payments will still be able to be transacted. However, the Stripe form must be completed to receive the payouts.
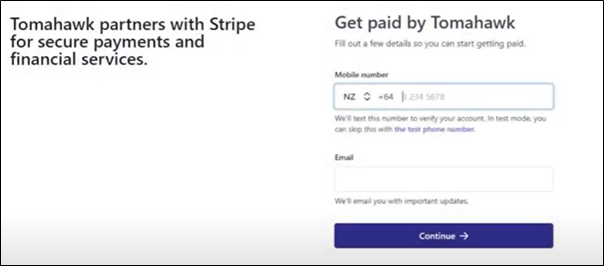
- Enter your Mobile Number and Email Address into the boxes provided, then select Continue.
You will be sent a verification code to your email address which needs to be entered onto the screen.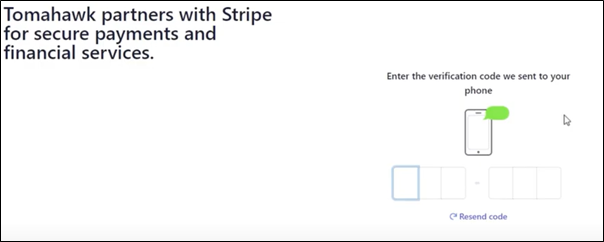 Once the verification code has been entered and accepted, you will need to provide your personal details on the form provided:
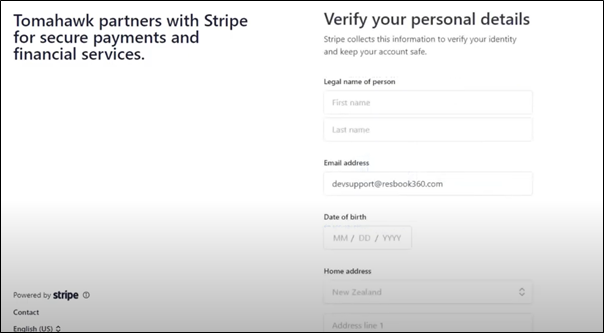
- Once details have been entered, select Continue. Stripe will ask you for information about your Business. Enter your Industry and Business website, then select Continue

- Next you’ll need to enter in your Bank Account number, then select Save
Note – This will be the account that Stripe will pay out to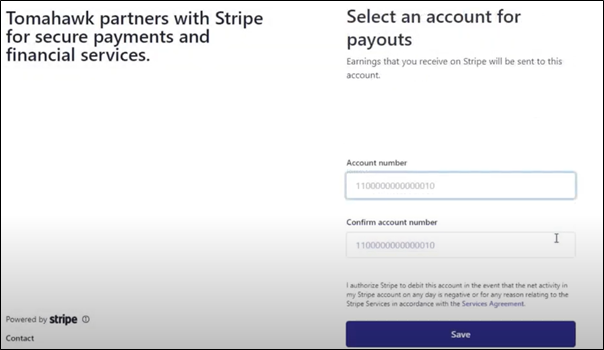
- Once saved, you will be able to review all the information you have entered.
Check these details are correct or select Update to amend any of the details.
- Stripe may ask you to verify your ID / Address under the Management and Ownership area
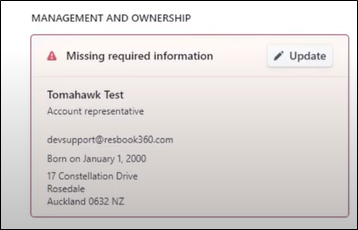
To verify your ID, you can either upload or take a photo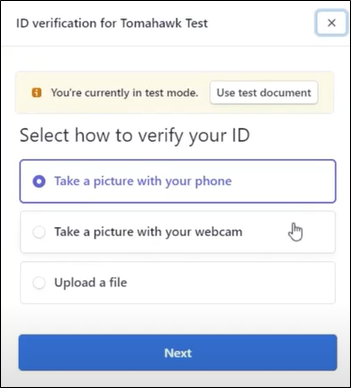
To validate your address, you can select to upload an image or PDF of a document with an address on it.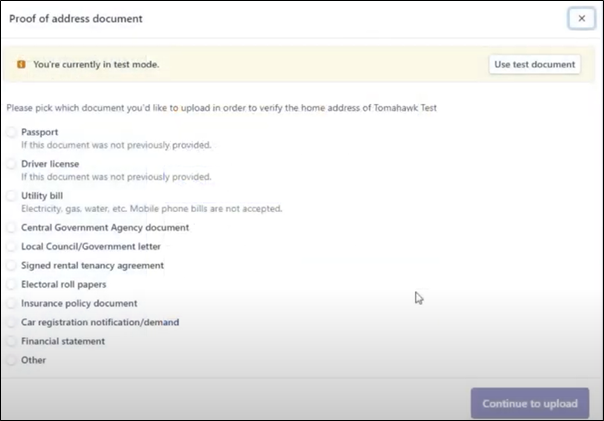
Once these have both been submitted, you will be taken back to the Stripe form where you can select Submit to confirm the details.
You will be re-directed back to ResBook and your Stripe connection is now complete.
If you want to check or add more information into the Stripe form, you can select the Update Account Details option to take you back to the form to complete.
Select Save Changes to confirm the update.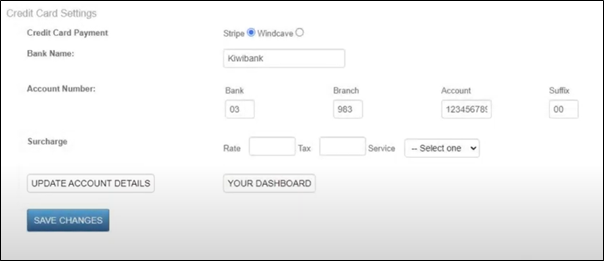
Note:
For the clients who have a Rural Delivery Address, because of the Anti-Money Laundering requirements, there are some special conditions:
-
As a Platform, you should use the address that you have most recently used while registering with financial institutions such as Banks or Tax bodies or Government Agencies.
-
This would be required even if the address is not well-defined and if you have chosen to later update the Postal Address to a PO Box number or Postal Code since those alone are not acceptable as part of the KYC process.
-
In an event that Stripe asks for Proof of Address for verification purposes, you should provide a valid ID or document issued within the last 6 months that contains the same address. These documents should be submitted without any modifications/redactions.
-
In exceptional scenarios, if you still face an issue, you should submit at least two forms of ID as any exceptional cases would require a manual review and verification and it helps expedite the process if multiple forms of ID are available.
Note: you will need a New Zealand Business Number (NZBN) in order to sign up with either Stripe or Windcave as a payment gateway, even if you are a sole trader. In the instance that you do not have any NZBN the only payment gateway you can use with the ResBook PMS is Paypal.
Refund
For any refund requests for your customers, kindly send to clientservices@resbook.com the details of the required refund:
- booking name
- booking email address
- exact $$ amount to be refunded
and we will action this for you.
Click on the video below for a walk-through on the step-up process with ResBook and Stripe: