Using ResOnline with ResBook PMS (1) | How to log into ResOnline for the first time
Once you have signed up for ResOnline, click on 'Login' at the top of the ResOnline home page, or head over to https://cm.resonline.com.au/ and enter your username and password.
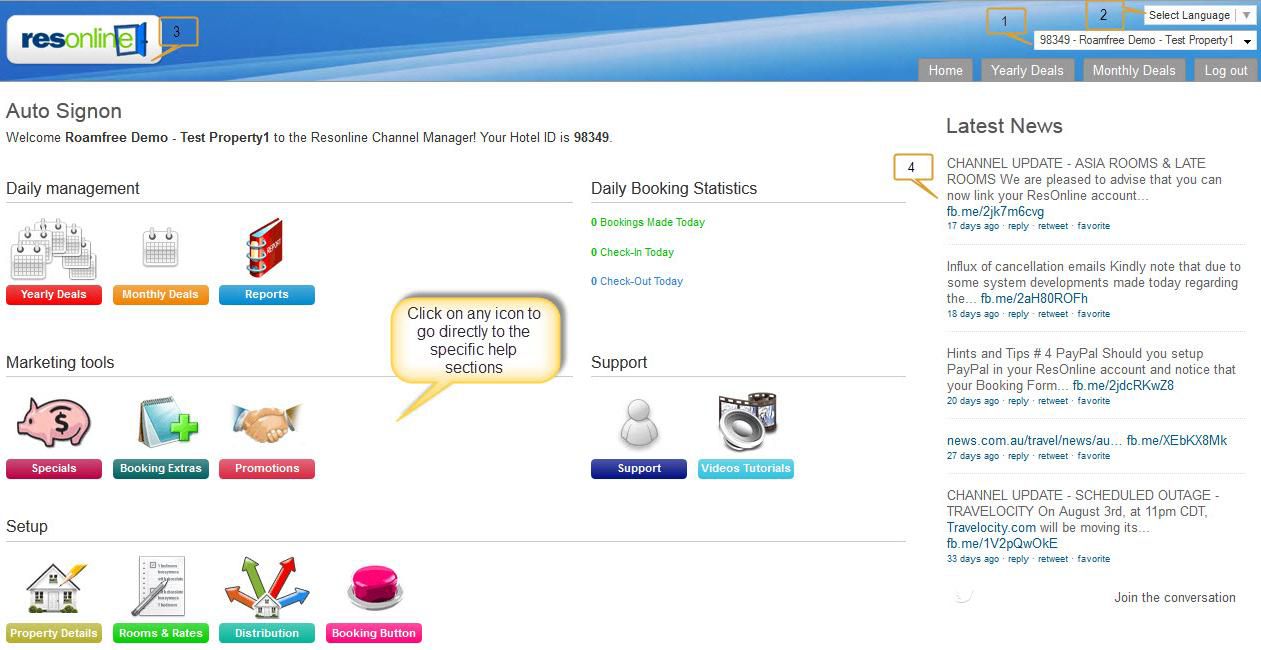
General Outline
Here you will find all the information you need to ensure you get the most out of your ResOnline distribution system.
1. This is your property ID. If you are set up as a multi property, you can use this drop down menu to access other properties.
2. You can select the language from this drop down box.
3. The ResOnline logo will always return you to the Home page
4. Keep an eye on the latest news. Each time we release a new feature, we will highlight it here.

Click here to continue to Part 2: Setup Your Property And Connect To ResBook PMS
