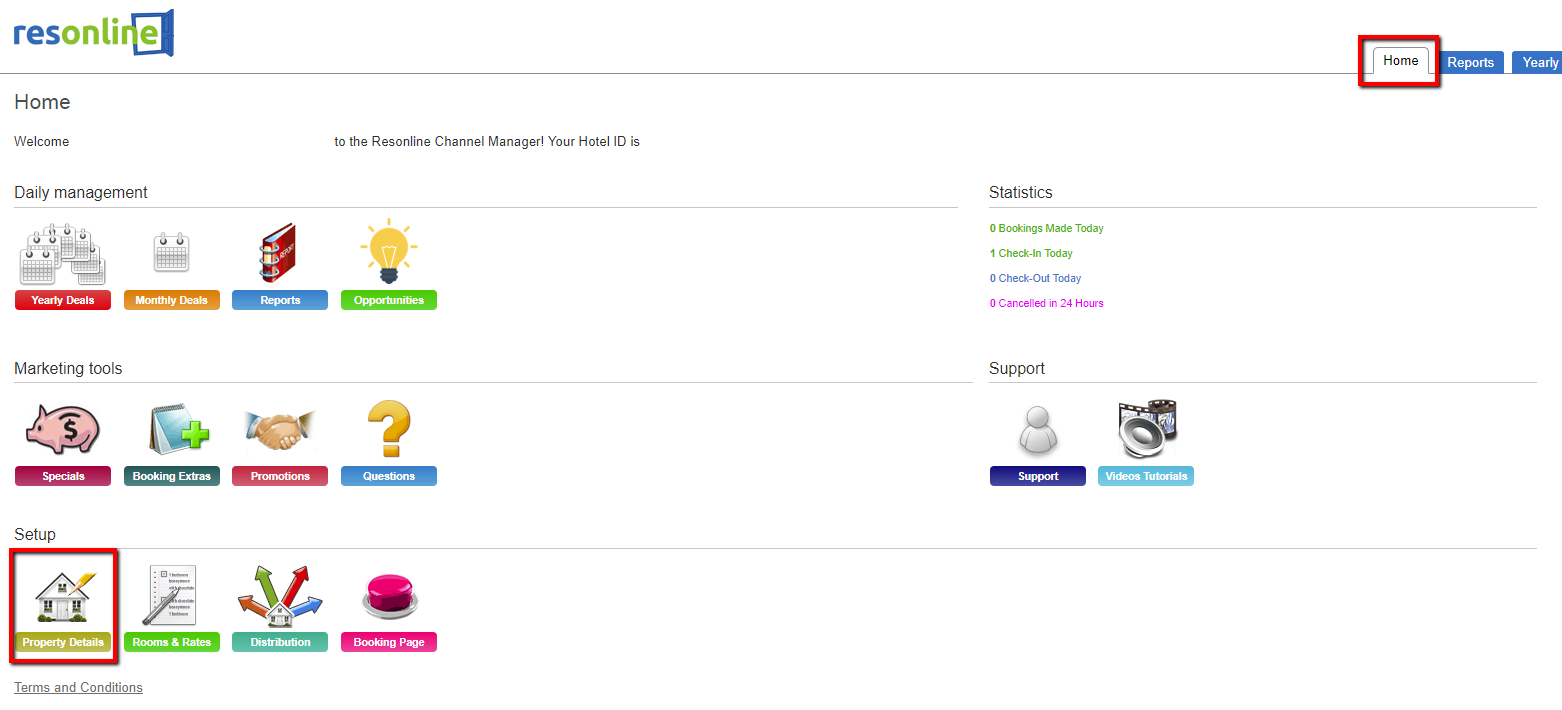
After logging into ResOnline for the First Time, you now have to enter your property details and connect your property to ResBook PMS. To set up your property details, scroll down the home screen till you reach the heading 'Setup'. Then you want to click on the button 'Property Details'.
Once you have clicked here, The 'Property Information' screen will appear. Also on this screen is the 'Property Features' and the 'Contacts' sections.
NOTE: We recommend that you fill out the 'Contacts' Section as well as the 'Property Information' section.
Under the 'Property Information' section, fill in your Property Name, Accommodation Type, Primary Email Address, Primary Phone and Property Management System. You may fill in the other fields in this section, however these are the fields we recommend you fill out. 
When filling out the Property Management System section, you must choose ResBook PMS in order to connect (We do not need to do anything in ResBook PMS yet however).
Once you have finished on this page, scroll down and hit the [Save Changes] button located at the bottom of the page. The next thing we need to do is to create Rate Packages.
Click here to continue to Part 3: Creating Rate Packages 