
In this guide we will cover:
- How to add an image to a page (for websites built after 2023)
-
How to add an image to a page (for websites built prior to 2019)
How to add an image to a page (for websites built after 2023)
-
Login to the CMS using your Username and Password, then navigate to the General Menu and Select Pages. Select the name of the page you would like to work with to open it.


- Click into the Content tab, and scroll down the page until you see the Rich Text Editor or the Add new row with
 columns
  : section. Select the arrow in the drop-down and choose the number of columns that you would like to display content on the page. You can select up to four columns to display on a page. For most pages, you will use a row with 1 column. When selecting 1 column, and then
  this will display the Rich Text Editor text as a single column to add content. You can add multiple rows to a page. Let's work with one column.
- Click into the rich Text Editor and select the Insert File folder icon (
 ) on the toolbar.
- This will open File Manager to allow you to select an image from a folder. You can also upload an image to File Manager at this time. You can read more about this on our guide on How to add images to the file manager. Once you have located file you need, select the image until the file turns blue, then select Choose at the top left of the window.

- The image has now been placed in the content of the page.

- You have a few options to resize the image before saving.
Select the image until a blue border appears . You will see that there is a square at each corner where you can drag to uniformly resize the image

- There are also image specific options to left and right align the image to each side of the page


This also allows you to add text to the opposite side of the page to sit alongside the image.
- There are also options within the Templates to help you display content and keep the look of this consistent down the page, or highlight important information. Yu can read more about Templates on our Guide to Templates.


- Save: When you have finished all your changes to a Page, select Save at the top of the page.
- Always check the website's front end once you have saved your changes to make sure the images are displaying correctly.
How to add an image to a page (for websites built prior to 2019)
- Login to the CMS using your Username and Password, then navigate to the General Menu and Select Pages. Select the name of the page you would like to work with to open it.
- Click into the content box, and select the image icon on the toolbar
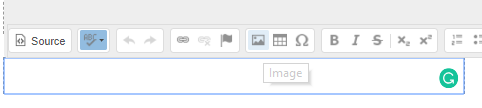
- A new Image Properties window will open that allows you to select the image and place it into the content area.
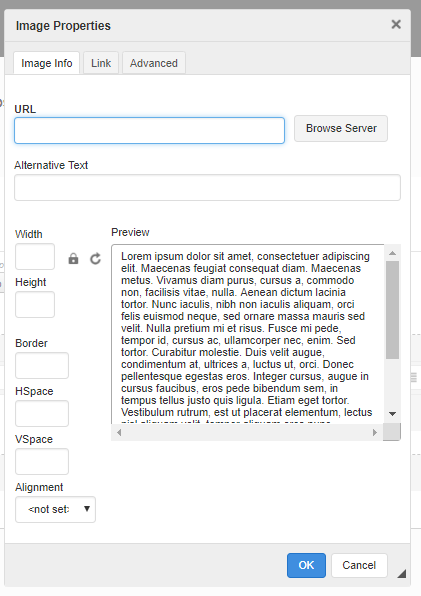
- Click the Browse Server button to locate the image in your website library and a new file manager window will open allowing you to locate and select the image.
- In the File Manager window, locate the image you want to place on the page and double-click to select it.
- Delete the width and height of the image. This allows your CMS to manage the width of images in a responsive nature on various devices.
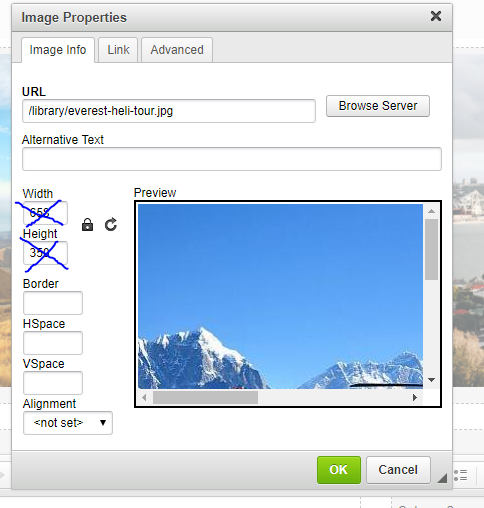
- Click OK and the image will be inserted into the content area you are editing.
- Save: When you have finished all your changes to a Page, select Save at the top of the page.
- Always check the website's front end once you have saved your changes to make sure the images are displaying correctly.
💡 Things to Remember:
- When uploading images to File Manager, ensure that the file has no spaces nor special characters in the file name
- Ensure that the images are the correct file type, preferably .jpg and not .jpeg
- Upload images of less than 1MB, helps images to load faster and not slow the website down
- Don't forget about adding Alt Text to your images. It's a great way to support your website appearing in search results. You can read more about Alt Text in our guide to Alt Text for SEO Tips & Tricks
- Having trouble with the way the images look on the front end? Read our guide on Common Problems with Images.