The property is now able to access multiple ResBook accounts using the Single Login functionality.
Please get in touch with clientservices@resbook.com for more information. We will add the ResBook accounts from our admin side, which will enable you to access multiple account.
Once the accounts have been assigned, below are the steps to follow:
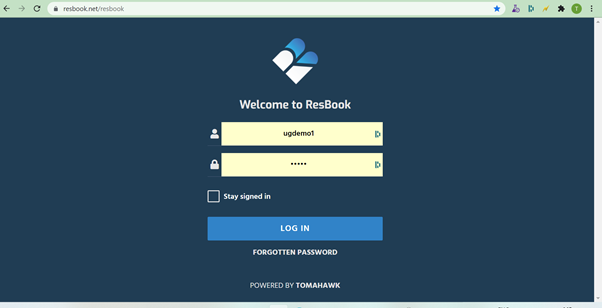
Log in to the main ResBook PMS account with the user name and password
https://www.resbook.net/resbook
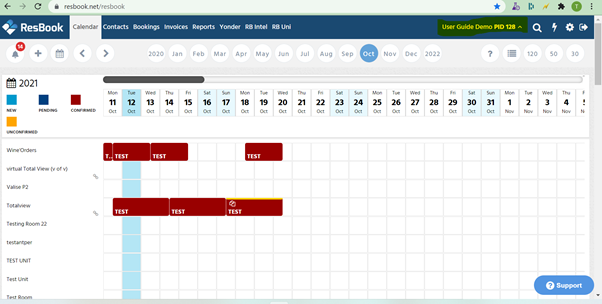
Now you can see the highlighted area has the drop-down icon
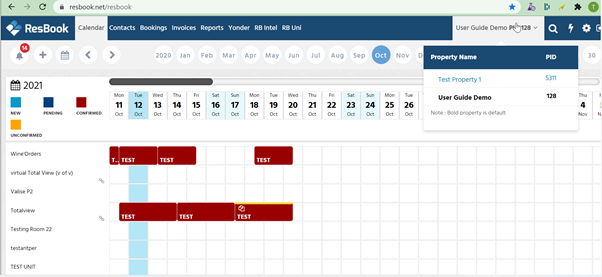
Hover your mouse on the property name and select the property you want to switch to and click on the “Switch property button”
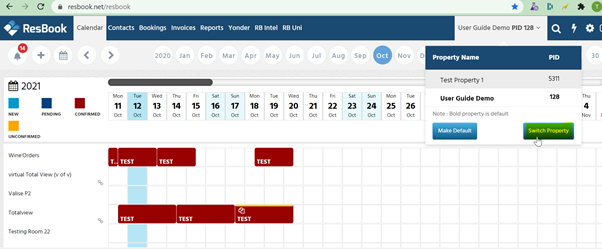
You will see the calendar of the new property.
Please note:
- You will be able to see the modules which have been assigned to the Parent property only, for example, if Respay has been assigned to Test Property 1 PID 5311 (which is a child property) but Respay has not been assigned to User Guide Demo PID 128(which is a parent property). After switching the property to “Property 1 PID 5311” you will not be able to see the “Respay” in that window because “Respay” has not been assigned to the Parent property and the user has been logged in with the User Guid Demo property.
- This will only work for main property logins. Staff and other contact types will not be able to access multiple accounts using a single login multi property functionality.