
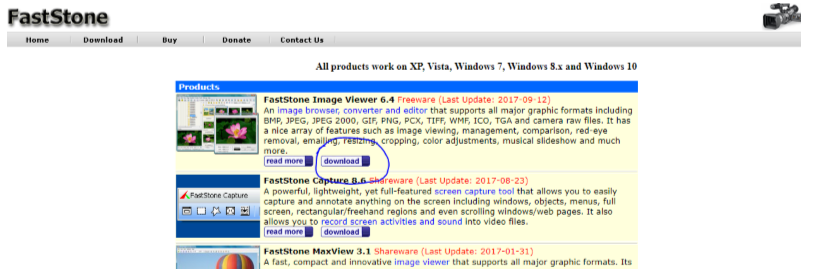
- Go to http://faststone.org/ and download and install the most recent Image Viewer
- Open Faststone
- On the left hand side, select the folder where the photos you want to optimise are stored.
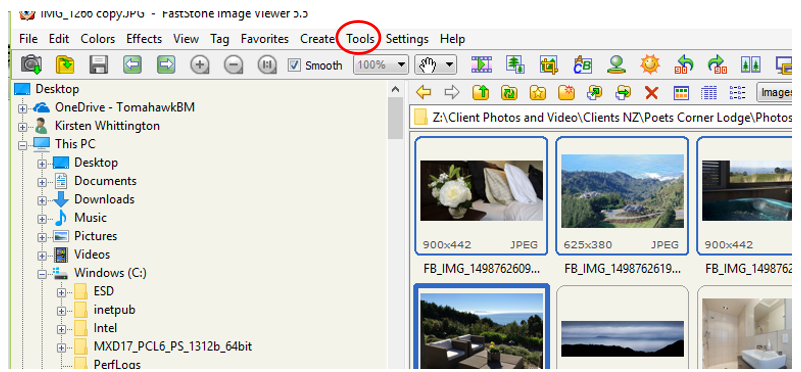
- Select all photos you want to optimise on the right hand side
- Click Tools in the top navigation panel (circled in red) and select ‘Batch Convert Selected Images’
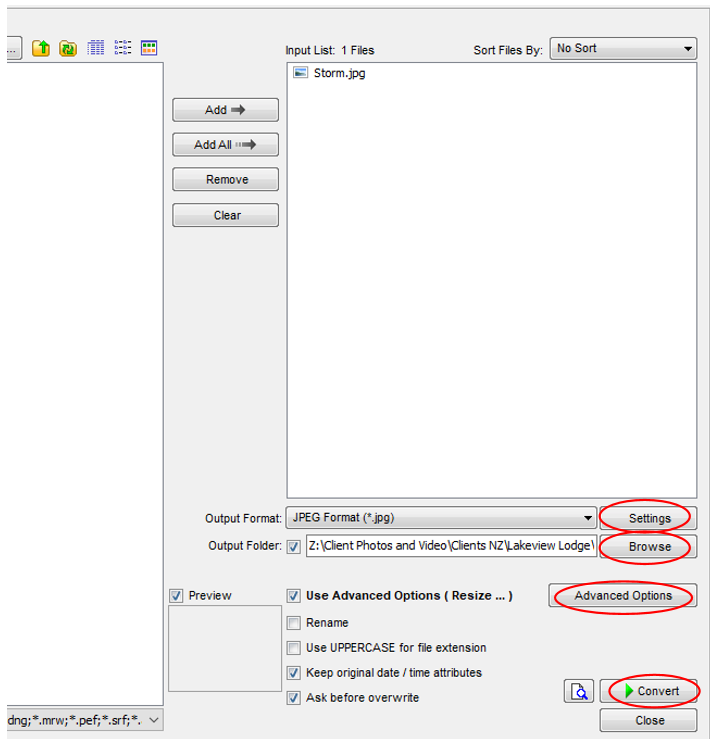
- Select settings and set Quality bar to 80
- Select Browse – pick folder where you want your optimised photos to be saved
- Click Advanced Options
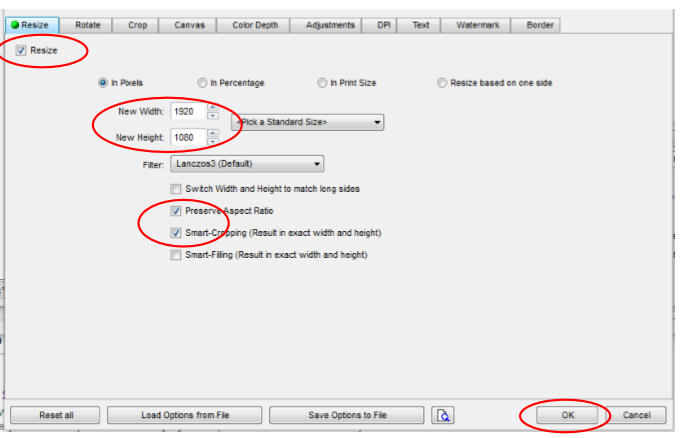
- Tick Resize in left corner
- Change Width and Height to 1920x1080 (landscape) 1080x1920 (portrait)
- Make sure Switch Width and Height to math long sides, Preserve Aspect Ratio and Smart Cropping are ticked.
- Click OK
- Select Convert!
- The optimized photos will be in the folder you selected above.
- Go into the CMS file manager, and upload the files into it.