Occupancy Monthly Summary Report
Occupancy Monthly Summary Report with Target Projections
ResBook PMS has several Financial reports that you can generate within the platform. One of these reports is the Occupancy Monthly Summary Report. Here you can display an overview of Occupancy Levels within a chosen date range for All properties and individually for each property.
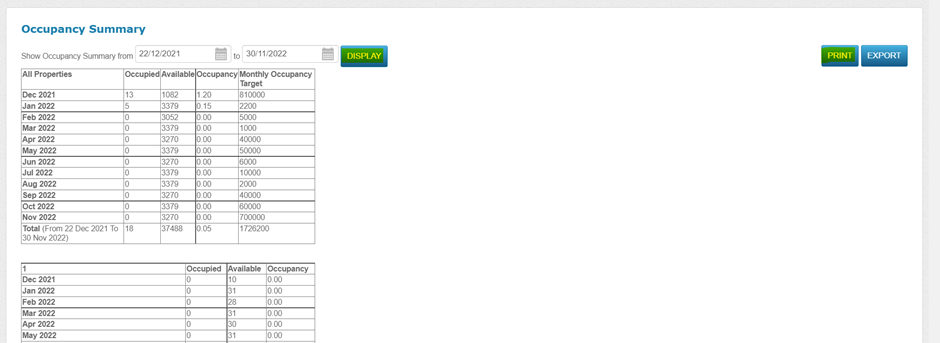
There is now the ability to add your target occupancy numbers per month, for a 12-month period.
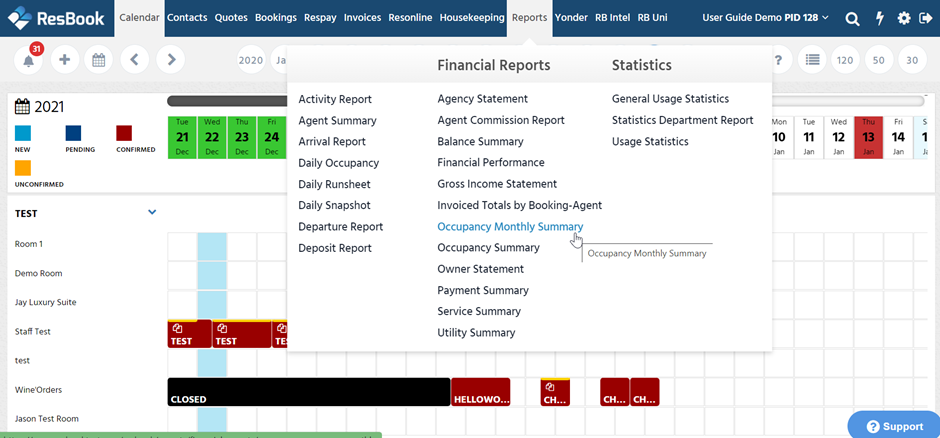
Click on Reports in the menu and choose Occupancy Monthly Summary as per the image below.
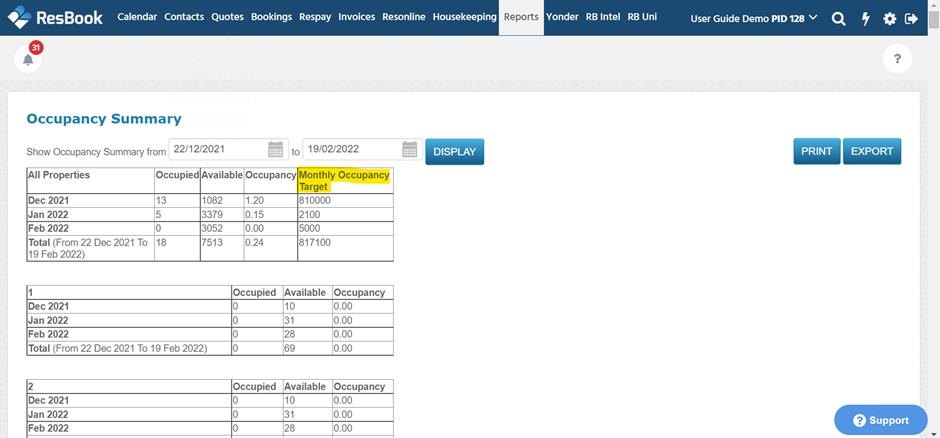
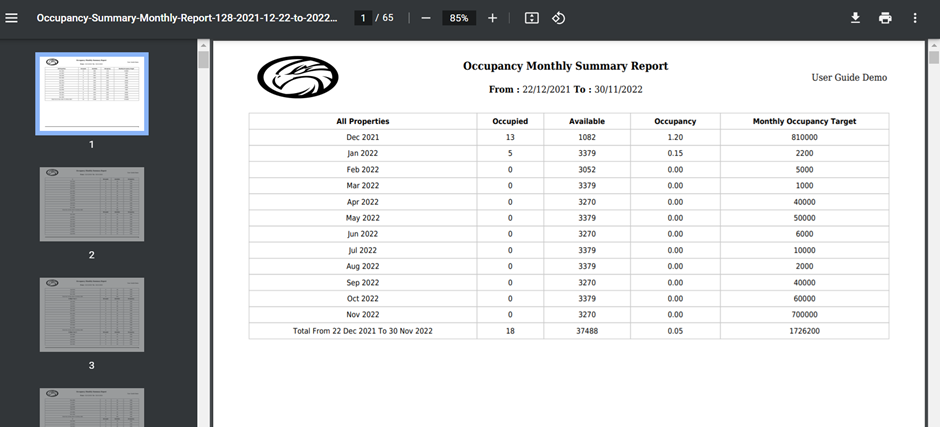
Once the Occupancy Monthly Summary report has opened, just simply adjust the dates to your choosing to bring up the entries you want. This report will show the monthly occupancy and the available rooms.
You will be able to view:
- All properties and Individualy properties
- Months (within the date range)
- Occupied nights
- Available nights
- % Occupancy
Bookings taken in count:
- Confirmed bookings
- Physical stock units only
You can export the data into a CSV file and adjust the reporting format to your liking. Once in Microsoft Excel, the report can be printed.
Additionally, there is now the ability to key in targets for a 12-month period so that you may compare actual stays verse your projected targets.
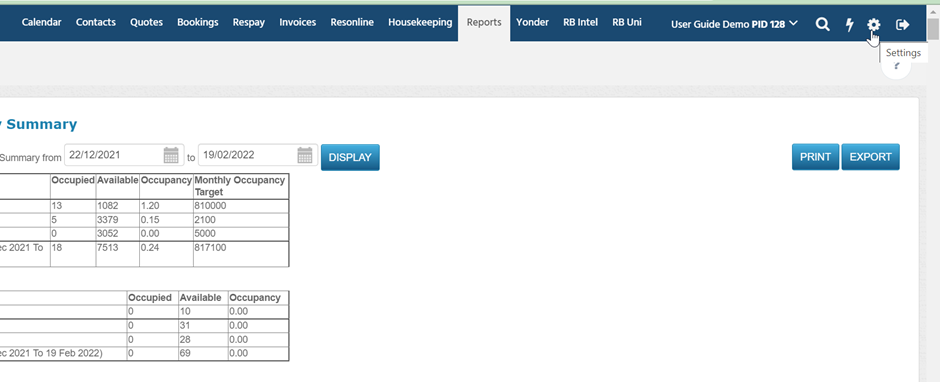
To set the monthly occupancy target nights for each month click on the gear icon (settings) as per the image below.
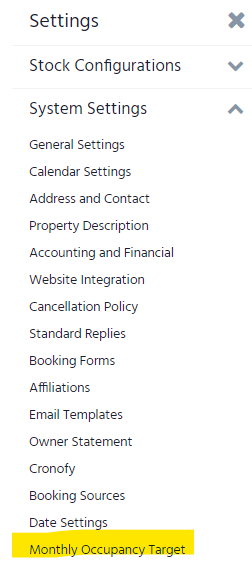
Choose the monthly occupancy target option in the menu as per the image below.
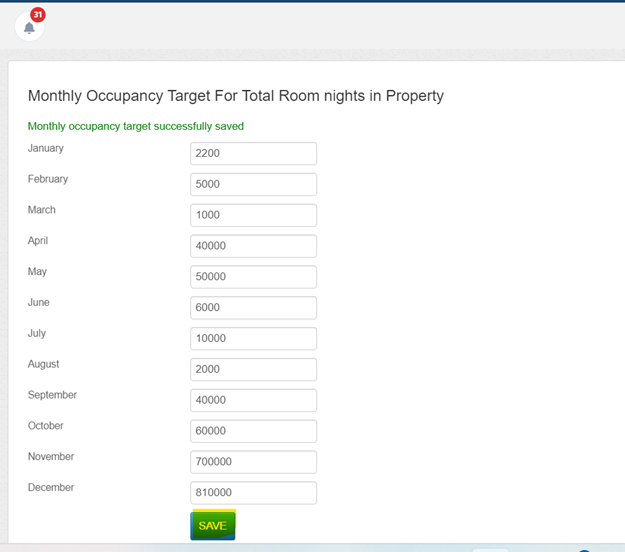
The target data is for a 12 month range only. Enter the targeted room nights against each month, then click save. For example if you would like to achieve 100 nights occupancy for a given month, enter in this figure and click save.
You can download the monthly occupancy target report in pdf form by clicking on the “Print” button, the file will be saved locally to your pc.
Note: Please make sure to click on display first and then click on print to download the updated data in pdf format.
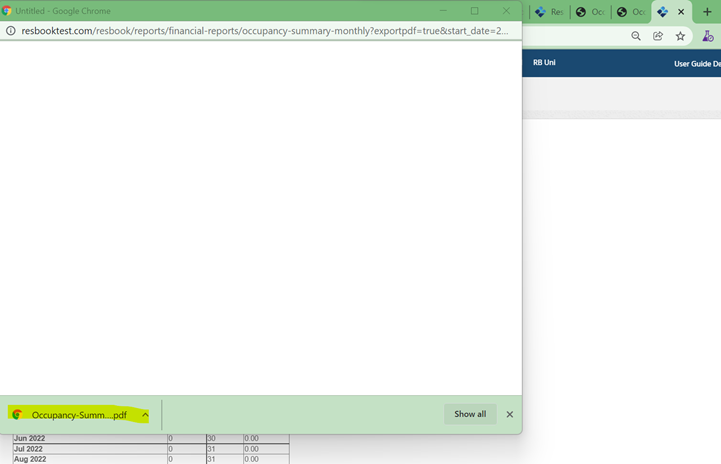
The PDF of the report saves locally, as per the image below.
The image below is an example of the report was generated and opened.
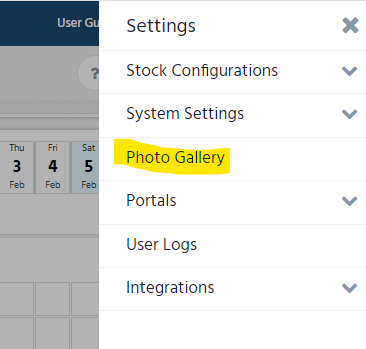
If you wish to have your logo presented in your reports, you can load this in the settings menu. Click on Photo Gallery
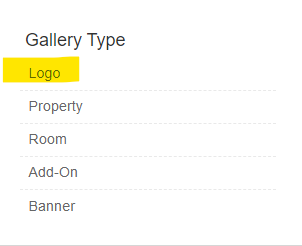
Then select Logo
Simply upload your image as per the instructions provided, this can now be used automatically in some reports.
