
- Login to your website CMS by using the Login and Password provided to you
- When logged in, scroll the left sidebar until you see Photos
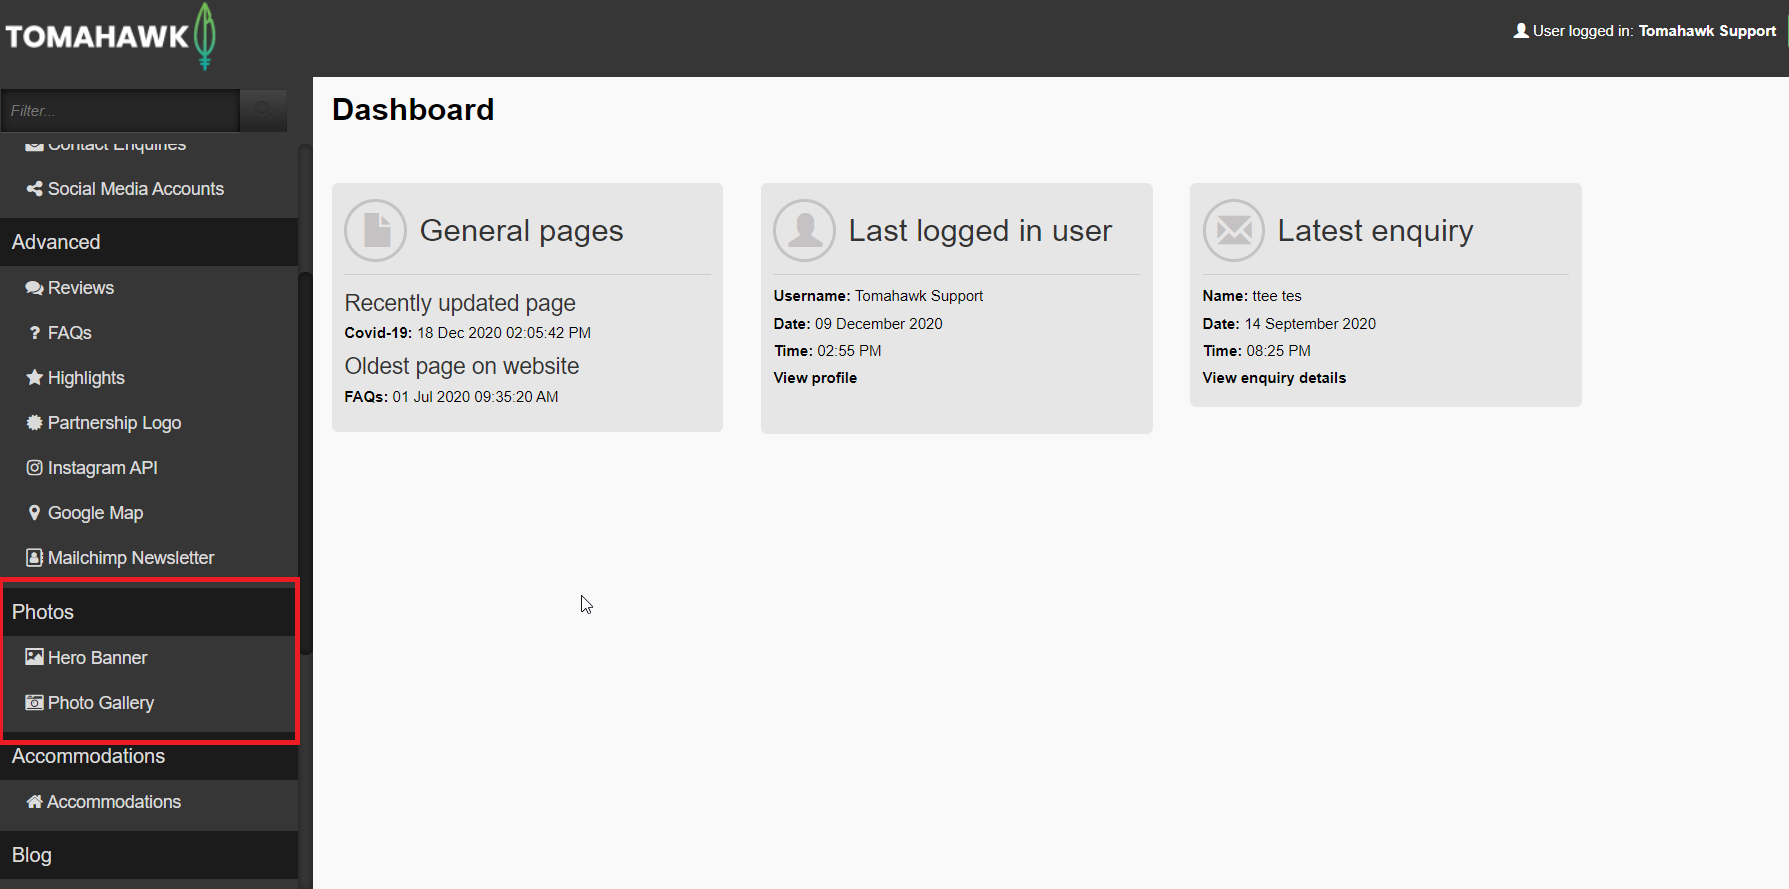
- Click on photo gallery
- You will see the list of existing photo galleries (if you have created any).
- You can either click on an existing photo gallery to edit it or click "+ New" button to create a new Hero banner
- Inside of the editor you will land on the 'details' tab in here you will need to fill out:
- Name: This is to identify the photo gallery in the CMS backend (it is a good idea to name this: "page name banner" so it is easy to identify e.g. "homepage hero banner")
- Filter: By filling in this field, a filter appears on the gallery page only when the checkbox is selected
- Once completing the 'details' tab, you can go into the 'Photos' tab, in here you will need to:
- Click 'add new photo'
- Select an image from your file manager by double-clicking on it
- Fill in the fields only where required i.e. caption, alt text (this is a MUST), youtube ID (If you wish to have a video in your photo gallery), and select the order that you wish for an image to appear in by typing a number in the "order box" (if you leave this blank, the images will just appear in random order)
- Once completed, click save and remember to add the photo gallery to the necessary page.
Please also refer to our recording of "How to create a photo gallery" below:
