

In this guide we will cover:
-
How to add Partnership Logos to the CMS (for websites built from 2023 onwards)
- How to set the Partnership Logo module to display on your website (for websites built from 2023 onwards)
- How to remove a logo (for websites built from 2023 onwards)
- How to add Partnership Logos (for websites built in 2019 and prior)
How to add Partnership Logos to the CMS (for websites built from 2023 onwards)
- Login to the CMS using your Username and Password, then navigate to the Advanced menu, and select Partnership Logo.
- Once you have opened the Partnership Logo module, you will see the list of existing partnership logos that have been created. You can either click on the name of an existing partnership logo to edit it or select the + New button at the top left of the page to create a new one.
Let's create a new Partnership Logo as an example, so select + New to begin.
- Once the Partnership Logo editor is open you will need to complete fields within the Details tab for:
- Name: This is the name of the partner that will appear only within the CMS.
- Title: This is the name of the award. This is not a compulsory field so it can be left blank.
- Logo Path: Selecting Browse will take you to File Manager to select an image to use in this field. To ensure that the images display consistently within the carousel, please ensure that image you are using measures 95 pixels high and 60-150 pixels wide, and is in .png format.
- Alt Text: A great way to support search by adding in a brief description of what appears in the image. Alt text (alternative text) describes an image on a page, helps visually impaired people understand what the image shows so it is good for accessibility, helps search engine bots understand image contents, and appears on a page when the image fails to load. Enter a brief description such as (Business name) is a member of (membership organization).
- URL: In this field you can add an external link to the partners website, or you may like to link to an internal page on the website.

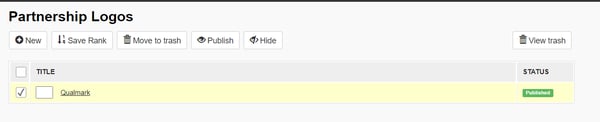
- Save: When all fields have been completed, select the Save button at the top of the page and you will be directed back to the list of all Partnership Logos where your newly created item will show that it has been saved as a draft or with a status of HIDDEN (orange).

- Publish: Scroll to the bottom of the list of Partnership Logos to locate your item that is HIDDEN / not yet published. Tick the checkbox for the item, then select Publish. This will now show in the list with a green status of PUBLISHED and now be available to set on a page where it will display on the front end.

- To update the order that the icons are displaying in on the front end you will need to update the rank or numbers set against each Partnership Logo, and then select Save Rank. As all logos display in a carousel that automatically cycles through all partnership logos this is not a compulsory step.
How to set the Partnership Logo module to display on your website (for websites built from 2023 onwards)
-
The last step is to set this module to display on a page. Partnership Logos are a great example of how a module works, where content is created within one section of a website and can then be selected to display on a General Page. Navigate to the General menu, then select Pages, and select the name of a Page that you'd like to work with to open it. Let's work with the example of the About Us page.
- With the About Us page open, select the Modules tab. Within the Partners field, add a number or rank to set the order that you would like to display this content. In the example below you'll see that the Partners module field has been set with a rank of 3, meaning that that Partnership Logo 'Carousel' will display as the last piece of content on the page

- Save: You can no select the Save button at the top right of the page and you will be directed back to the Pages menu. As this page is already published, you can now view the carousel on the front end.
- Publish: Scroll to the bottom of the Blog Posts page to locate your Post that is HIDDEN / not yet published. Tick the checkbox for the Post, then select Publish. This will now show in the list with a green status of PUBLISHED and now be visible on the Blogs Landing Page.
You can also refer to the below video (using the examples of websites built between 2020 and 2023):
How to remove a logo (for websites built from 2023 onwards)
- Login to the CMS using your Username and Password, then navigate to the Advanced menu, and select Partnership Logo.
- Once you have opened the Partnership Logo module, you will see the list of existing partnership logos that have been created. Tick the checkbox next to the name of the Partnership Logo you would like to remove from displaying on the front end to select it. of an existing partnership logo to edit.
- You now have options to: for:
- Hide: Tick the checkbox next to the name of the social media account, then select the Hide button. The social media account will no longer be visible on the front end however; will still display in this list with a status of
 so can be published again at any stage.
 - Move to Trash: By checking the tick box next to asocial media account, and then selecting Move to Trash, this will instantly move a social media account from this list and file it in the Trash. It will also unpublish the social media account , so it will no longer display on the front end.
- View Trash: If you do wish to restore a social media account, selecting View Trash will allow you to view all items that have been moved here. The good news is that if you wish to restore this item, simply select the check box next to the social media account you want to work with again and select Restore. This will move the item from the Trash list to the social media account list but, it will have a HIDDEN (orange) status. You will need to select the checkbox next to the item in the list and then select the Publish button to make the social media account visible again on the front end. You have two choices to remove the social media account from the front end.
- Hide: Tick the checkbox next to the name of the social media account, then select the Hide button. The social media account will no longer be visible on the front end however; will still display in this list with a status of
How to add Partnership Logos (for websites built in 2019 and prior)
Some of our websites have a partner module which allows the website admin to edit their partner logos and URLs in the CMS. If you don't have this module and need a partner logo update please get in touch with clientservices@tomahawk.co.nz.
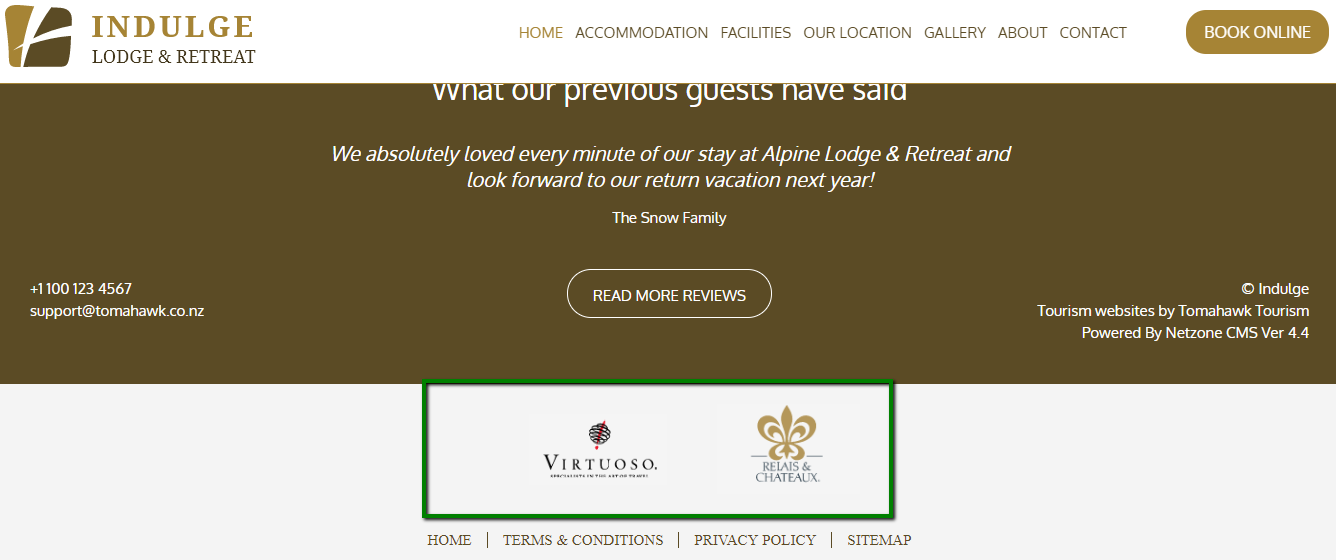
You can have up to 3 partner logos featured on the footer of your website.
- Login to the CMS using your Username and Password, then navigate to the Website Settings menu, and select Settings.
- Go to the 'Design Tab' and scroll down to the 'Partner Logos' section.
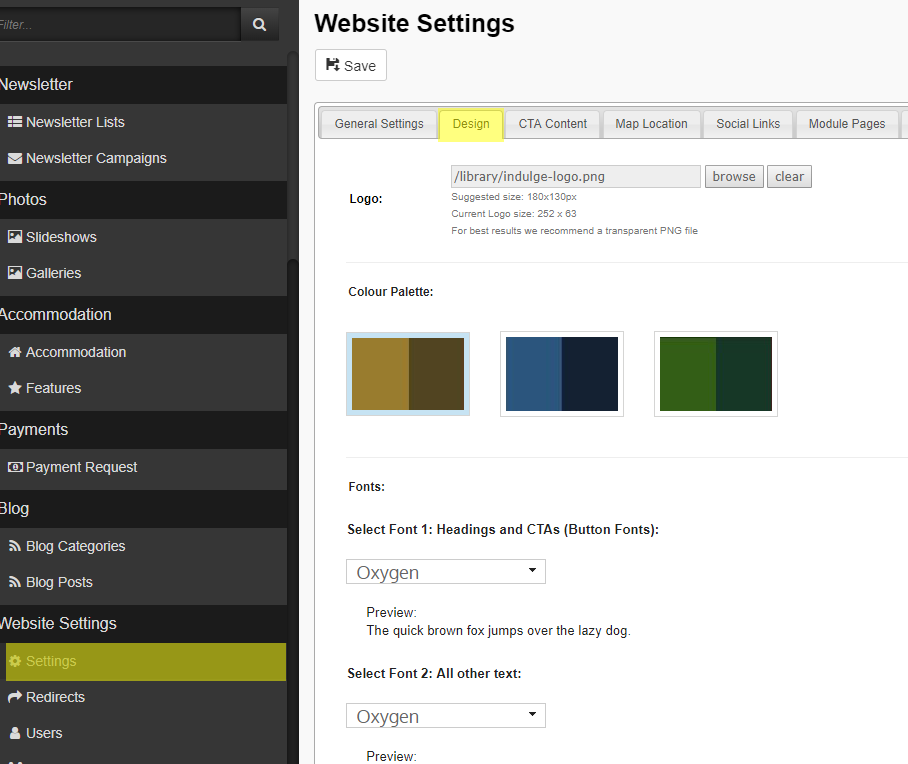
- To add or edit your partner logo, click the 'browse' button. This will open your file manager. Double click on the logo image you would like added to the partner logo section.
- URL: You may like to add a URL so a web-user can click the partner logo and be taken to their website (this opens in a new tab).
- Alt Text: Add Alt Text so Google knows what the image is and can pull it through on a relevant Google Image Search.

💡 Things to Remember:
- To ensure that the images display consistently within the carousel, please ensure that you upload an image to File Manager of 95 pixels high and 60-150 pixels wide, and is in .png format.