
All pages that appear in the General Pages list are General Page types; this is a type of page with some specific features that we will run through below.
In this guide we will cover:
How to add a General Page to your topline navigation
When you first log in to the CMS you will see the CMS menu on the left-hand side in black. Within the General section, select the option for Pages, and you see a list of all the the pages that have been created that are General Pages.
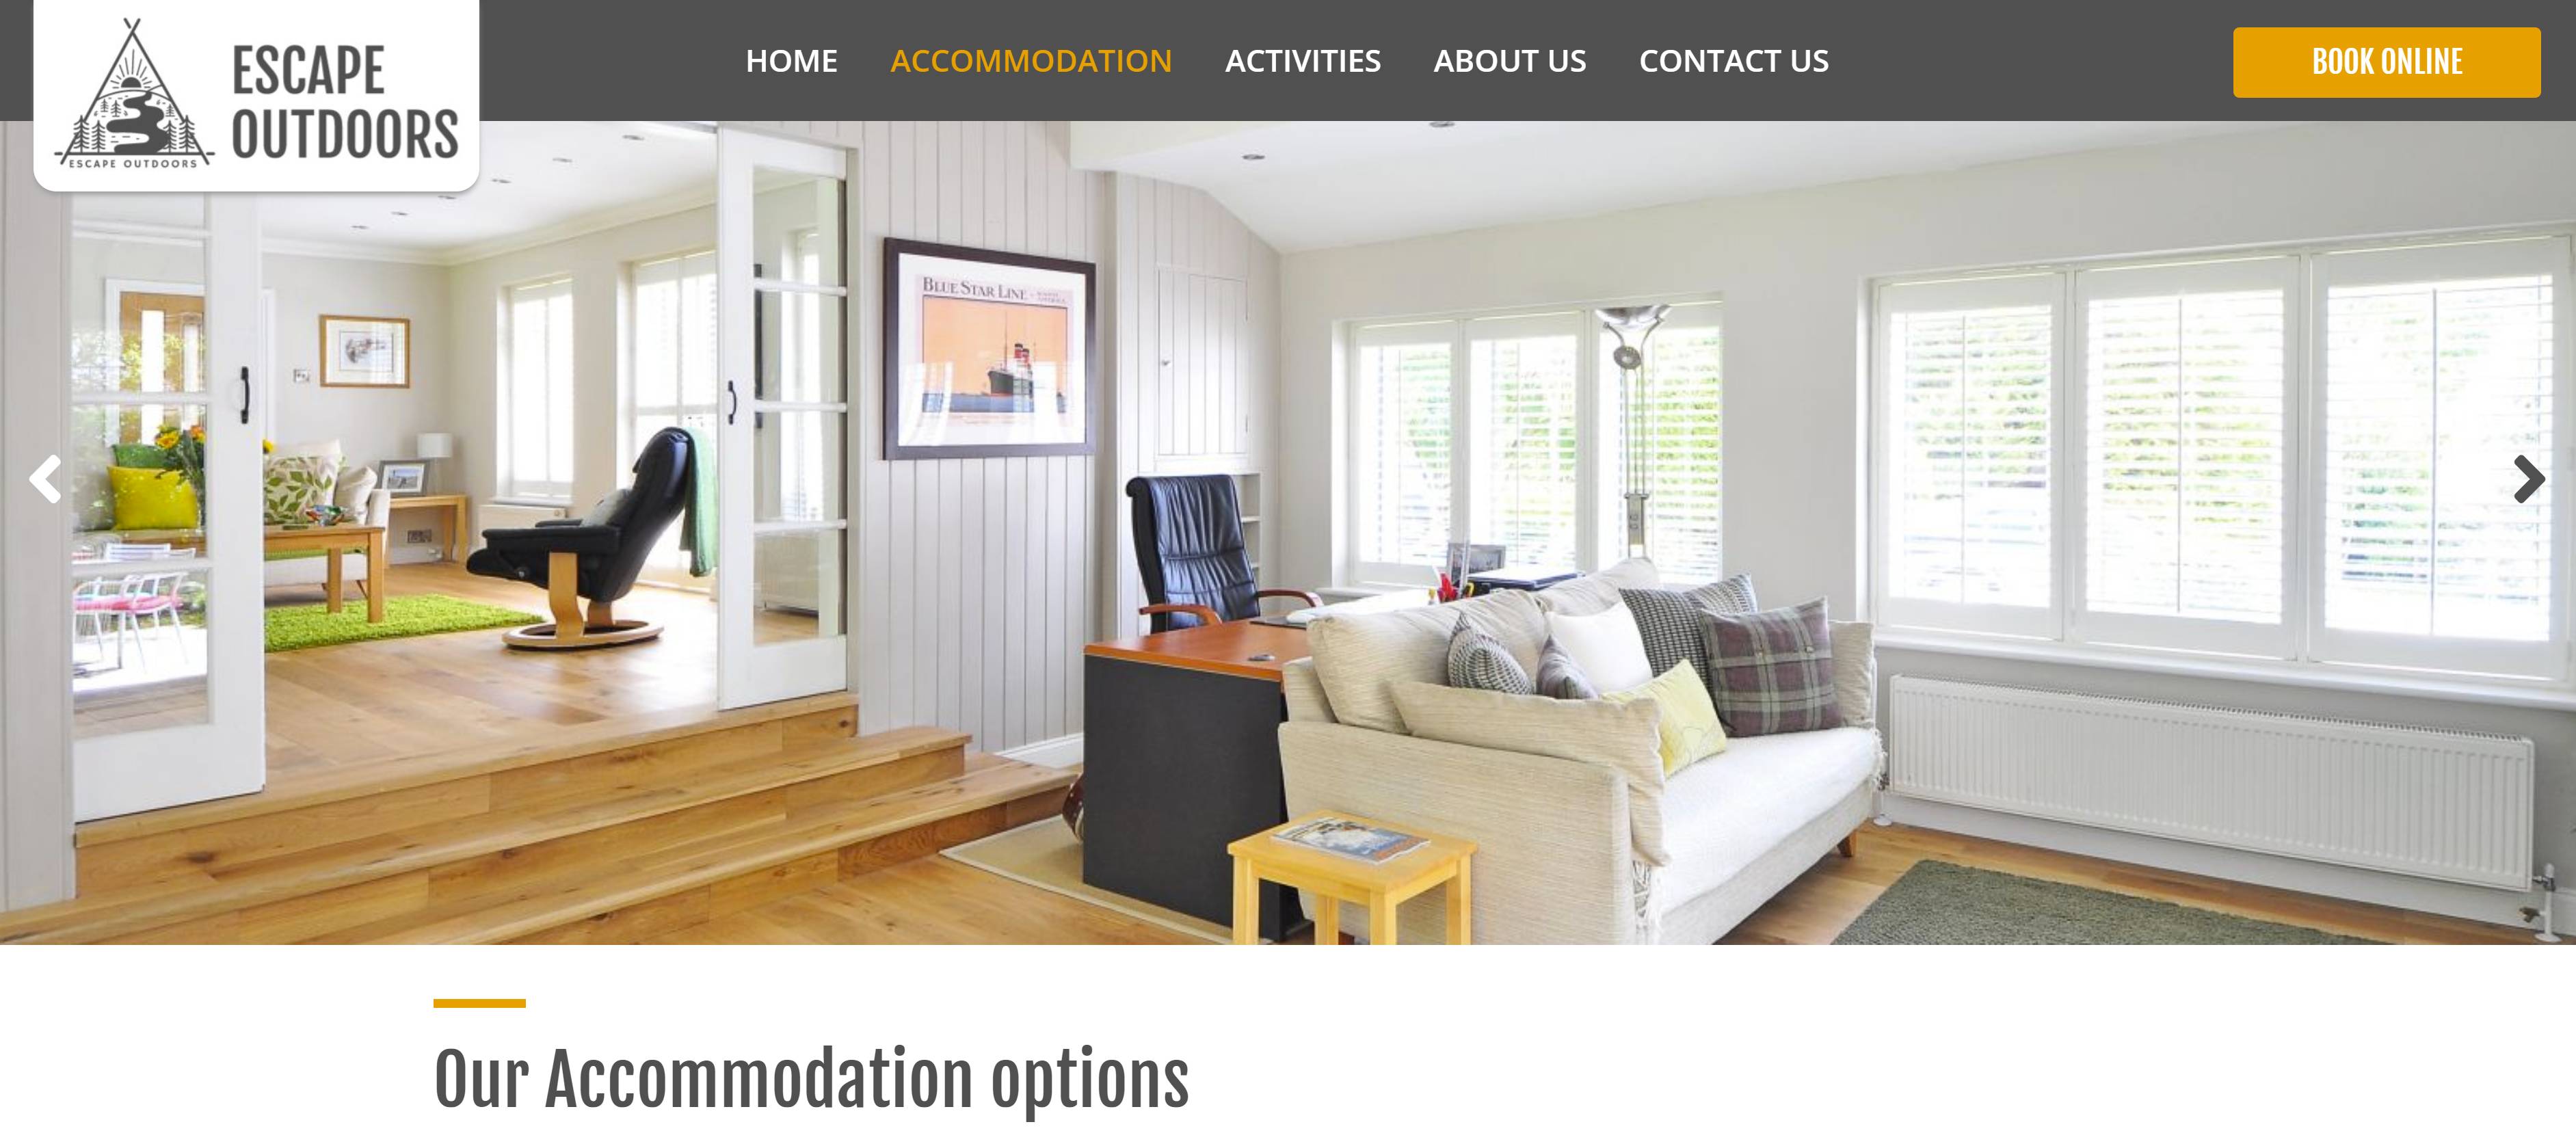
Let's select the Accommodation General Page, and work with this as an example:


Content Tab

The first tab you will be presented with is the Content tab. This is where you will set a Heading and Introduction for the page, as well as any additional text that can be formatted using a Rich Text Editor. This will be displayed directly under the Hero Banner.
Here you will complete fields for:
- Heading: In this field, you'll create the title or heading for the page.
- Introduction: In this field, you'll set the text for a page introduction or description.
Add new row with![]() columns
columns ![]() : In this section you can add additional text to display below the Introduction. By default, this is set to display one row for text. You can select the arrow in the drop-down field and choose the number of columns that you would like to display content on the page. You can select up to four columns to display on a page. For most pages, you will use a row with 1 column. When selecting 1 column, and then
: In this section you can add additional text to display below the Introduction. By default, this is set to display one row for text. You can select the arrow in the drop-down field and choose the number of columns that you would like to display content on the page. You can select up to four columns to display on a page. For most pages, you will use a row with 1 column. When selecting 1 column, and then ![]() this will display the Rich Text Editor text as a single row to add content.
this will display the Rich Text Editor text as a single row to add content.
You will also see a ribbon at the top of the Rich Text Editor to format your content where you can set headings and font styles, align text, hyperlink text, add in images, tables and templates.
How to set a page URL
Settings Tab
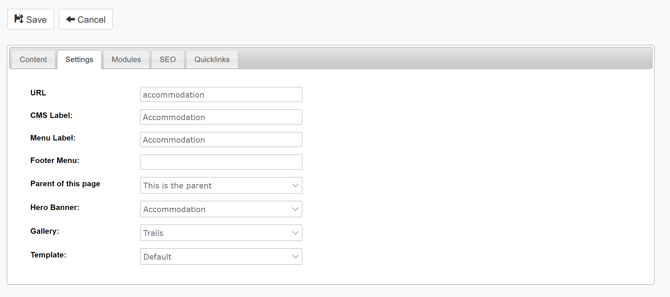
The second tab you will be presented with is the Settings tab. This is where you will set the URL for a page, you can set the page to appear in the topline navigation (parent) or to display as a drop-down option from the topline navigation (child), and where you can set Hero Banners and Gallery Banners to display on the page.
Here you will complete fields for:
- URL: This is the unique identifier for the page on your website.
In the example above we have set this as accommodation. We will cover more on whether this will be a parent page and have the URL of www.tomahawk.co.nz/accommodation or if this will be a child page and have the URL www.tomahawk.co.nz/activities/accommodation
Each page on the website needs to have its own unique URL, and will not be able to publish unless this field is completed:

If you have used this URL on another page, the CMS will display an error message to let you know that this URL already exists


If you make a spelling mistake, or want to update the URL, see the section on Creating a 301 Redirect.
- CMS Label: This is the name of the page within the CMS, so it can easily be identified in your list General Pages, for only you to see. It is recommend that you keep the URL, CMS Label, Menu Label, and Heading from the Content tab the same.
How to add a drop-down menu from your topline navigation (Child Page)
- Menu Label: This is the name of the field that will appear in the topline navigation menu, if you select the page to be a Parent. If you select the page to be a Child it will display as a drop-down menu from one of the options in the topline navigation menu when you hover over it.
If you don't want your page to be displayed in either the topline navigation, or drop-down menu - leave this field empty. This page will be only accessible via URL.

Parent of this page: This page is the parent
How to add a General Page to appear in your Footer menu
-
Footer Menu: If you enter text in this field, will create a menu label in the footer of your website. If this field is not filled in, the page will not appear in the footer menu of the website.

-
Parent of this page: This field defines if this page will show on the main topline navigation bar, that appears on every page across your website), or as a dropdown menu item that displays when you hover over a topline navigation bar item. When you select the drop-down arrow on this field, you will be shown a list of all of the pages that exist within the pages menu.


If you set this page as a Child, e.g.: to nest under Activities, it will display only when you hover over the Activities option from the topline navigation menu. It will display as a Child Page under it Page of Activities.


If you set this page is a Parent and don't enter any text in the Menu Label field - it will not show in the topline navigation menu.


-
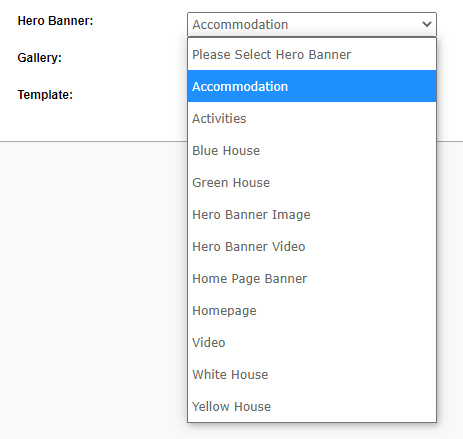
Hero Banner: This allows you to select a Hero Banner (1 still Image, Slideshow of multiple images, or YouTube Video) that will display at the top of the page above the Heading you set in the Content tab. Hero Banners need to be created in the Photos Module first, and when published will appear as an option to select within the drop-down in the Hero Banner field.
-
Gallery: This is the image or set of images / video that will appear after the Introduction / Description on a page. You will first need to create this within the Photos > Photo Gallery Module, outside of the Pages Menu. Once the Photo Gallery has been created, it is then available to be selected from this drop-down field. This is not a compulsory field.
💡 Things to Remember:
-
When copying text from a source such as a Word document, PDF or a website, before you paste this into the Rich Text Editor, right click to select Paste as plain text to paste within the field. This means that the font style will not be copied from the source and publish on the front end.
- If you need to change a URL, for example to correct a spelling mistake, you can edit the URL field. For example from www.tomahawk.co.nz/accomodation to www.tomahawk.co.nz/accommodation You'll need to create a redirect from the original page to the new page. See our guide on Creating a 301 Redirect.
- Please ensure that you use all lowercase letters and where there are spaces between words that you use a hyphen (-) instead of a space as the URL field does not like anything other than plain text, so the use of words with macrons, apostrophes or symbols that have been added to the Menu Label field should be removed from the URL field before you save your changes e.g.: Dave's Taupō Trips & Tramps will display a 404 page on the front end; you'll see that URL will display the text differently:
