
How to create a new form
- Log into the CMS and go to Forms (under Advanced)
- Click New
- Fill in the following fields in the Details tab:
- Name: this is what it is called in the CMS
- Email Subject: This is the subject line that you will see when a web-user submits the enquiry and it is sent to your email address
- Email Address: this is the email address the forms' responses are sent to
- Success Message: This is what the web user sees when they have successfully submitted an enquiry
- Terms & Conditions: You can opt to add Terms & Conditions
- Go to the Fields tab
- Select the fields you'd like on your new form (First Name, Last Name, and Email Address - you can remove, edit and copy these if required, by hovering over the field and clicking on the buttons on the righthand side)

To add fields - below are a breakdown of how to add the following fields and what information you need to fill in:
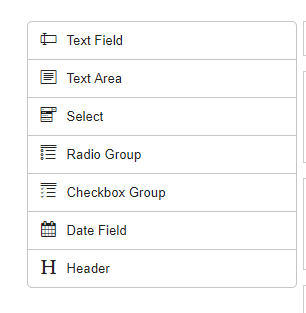
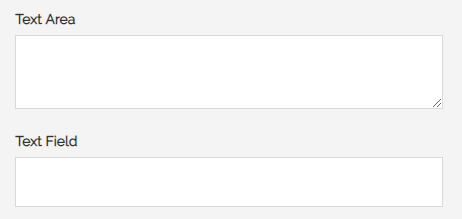
Text Field
Click Text Field
Click 'Edit' on the new field that comes up
The following fields will appear:
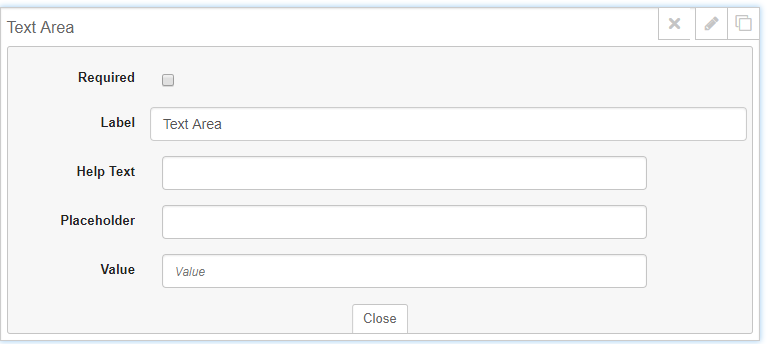
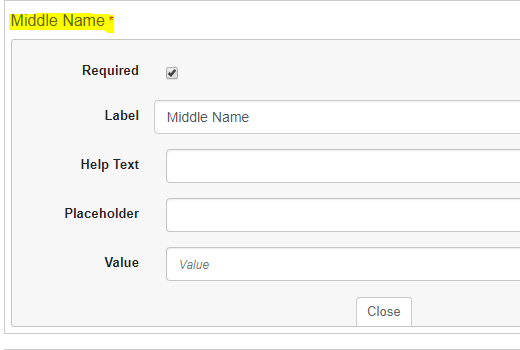
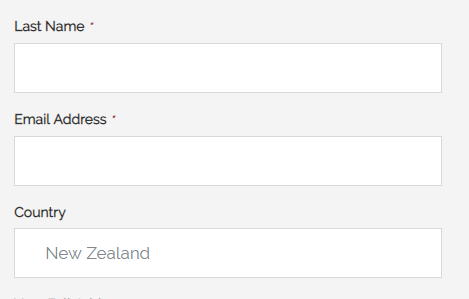
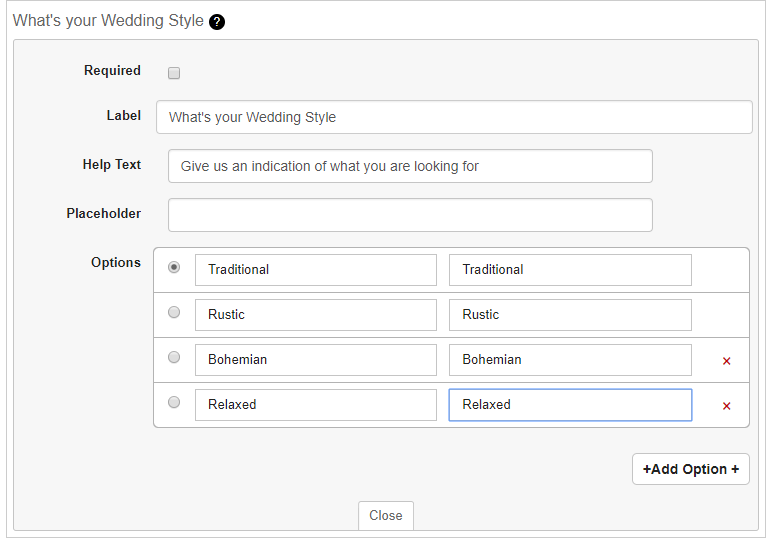
You can tick 'Required' (if you do, It will show a red * next to this field and the web-user will not be able to submit the form without filling in this field. If they submit it without filling it in it will also come up with a note to the web-user that it is a required field)
Fill in 'Label' which shows in the CMS as the title of this field, and will appear as the title of this field on the form
You can opt to add Help Text which will appear when the web-user hovers over the field
You can have placeholder text, which will be automatically filled in on the form, but the user may update this if required.
Value - This value will show in the email you receive so you know what the web-user has selected.
Type - Choose either 'Text field' (automatically will be set to this), email or telephone
Text Area
Similar to text field, text area has the same fields that can be filled in. The only difference is a web-user has a larger field for a sentence/paragraph comment
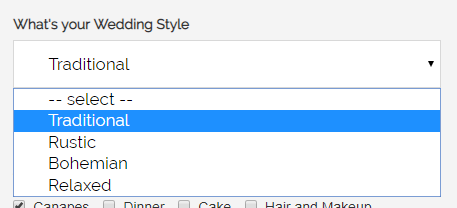
Select Field:
Add the different options that you'd like to offer - this will appear as a dropdown
Remember to fill in the second column, so that when you receive the email, you will know what the web-user has selected
Radio Group - allows the user to choose only one of a predefined set of mutually exclusive options

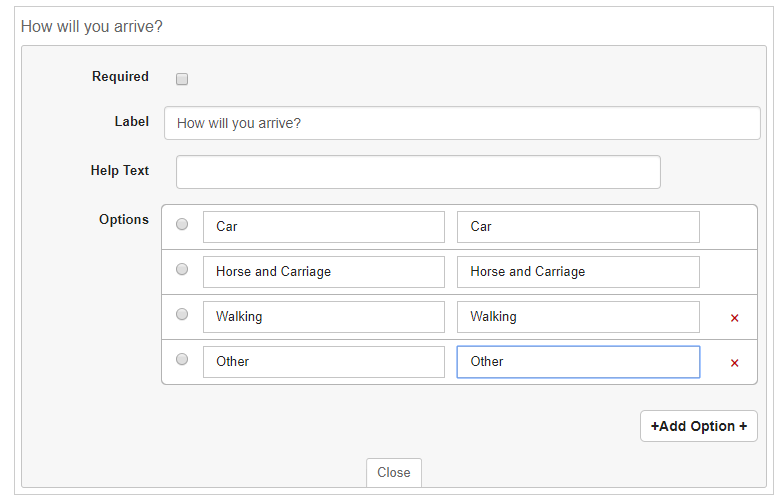
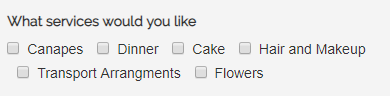
Checkbox Group
Add the options you'd like to offer a web user and they can tick multiple options
Remember to fill in the second columns (Values), so that when you receive the email, you'll know what the user has selected).
If you tick an option, then this field will be ticket on the form, but a web-user can un-tick it if desired.

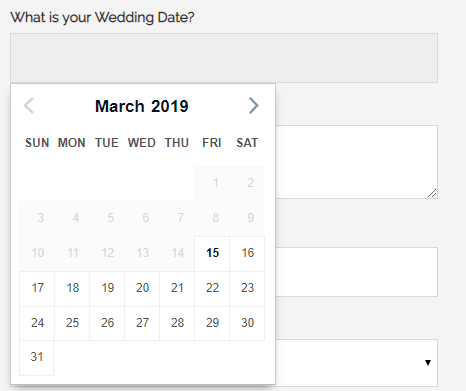
Date Field
This provides a web-user with a Calendar, so they can select a date

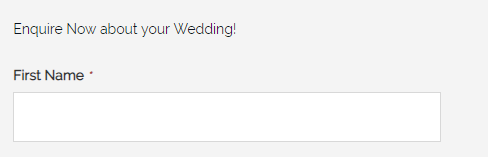
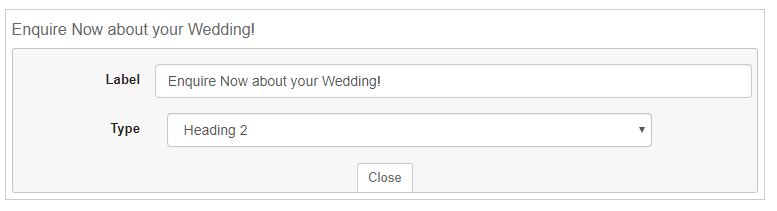
Header
Choose a title for your enquiry form - you can choose to have this in a different style of font (heading 2,3 or 4)
It is best to have this at the top of the form or to use this to break up a form into sub-paragraphs
Entries Tab
In the 'Entries' tab, all web enquiries that are submitted will be saved under this tab, as well as being sent to your inbox

Publishing Your Form
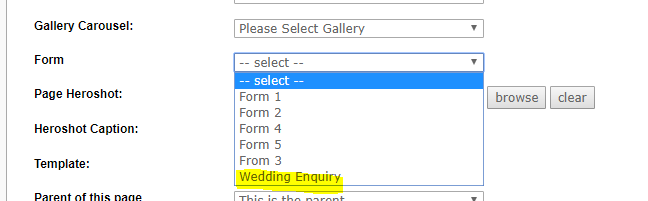
Once you're happy with your form, don't forget to click 'Save' and then to tick and 'Publish' it. Once it is published, you can go into your 'General Pages' module, and attach it to the relevant page using the 'Settings' tab.
Don't forget to check out how it looks on the frontend and submit a test enquiry!!
