How to add images to the file manager
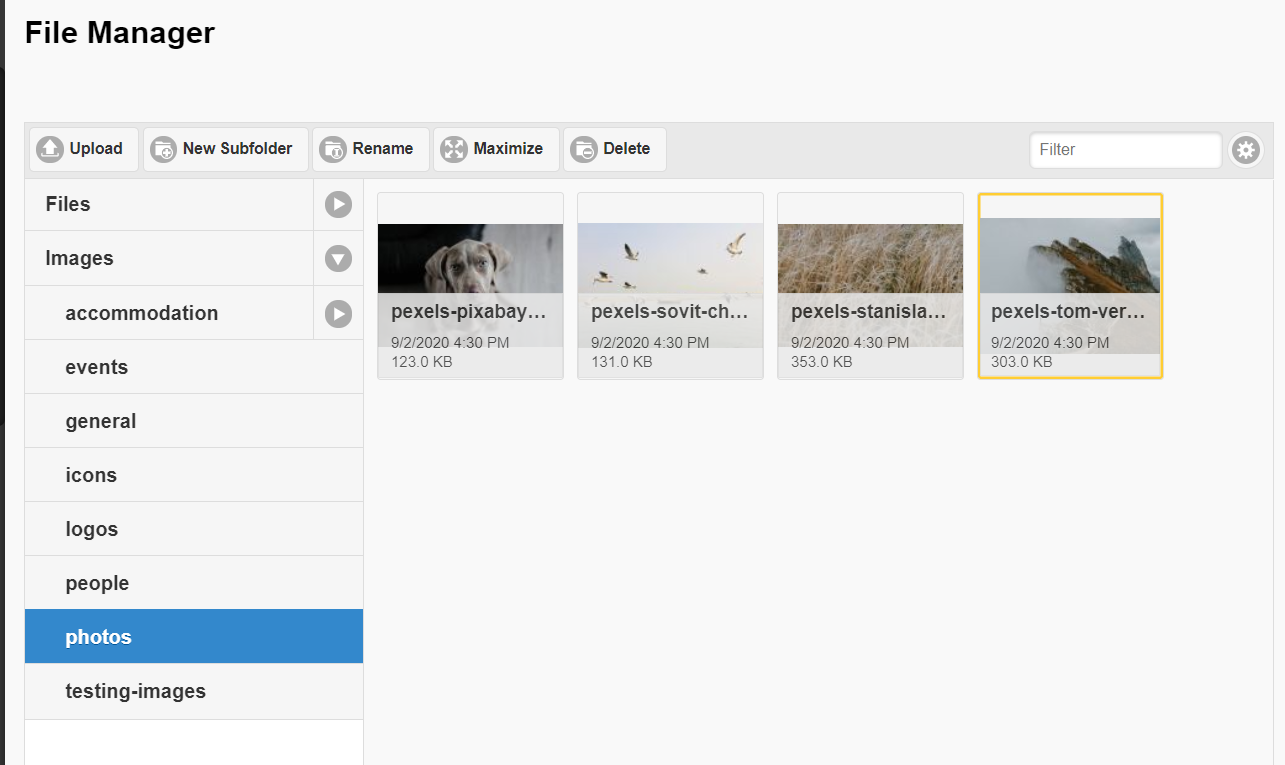
The file manager is your CMS library of images, photos or documents that you can choose from to display on your website.
Log in to the CMS and lick into your File Manager module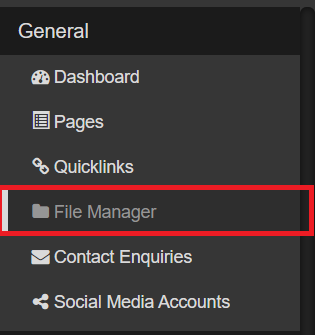

Create a new folder
To create a new folder under Images, click on Images and then select New Subfolder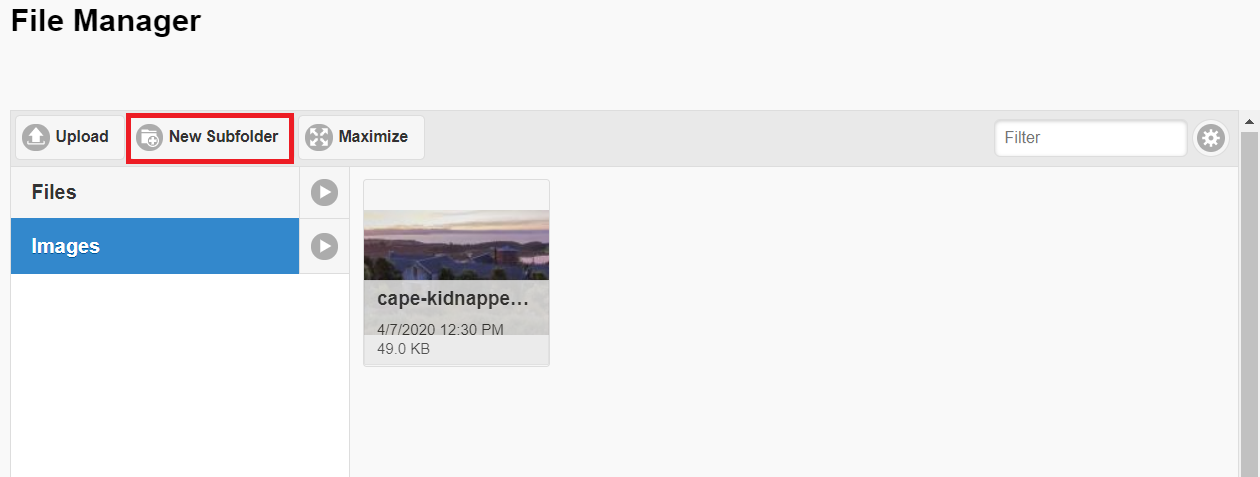
This will trigger a pop up to type in the new folder name: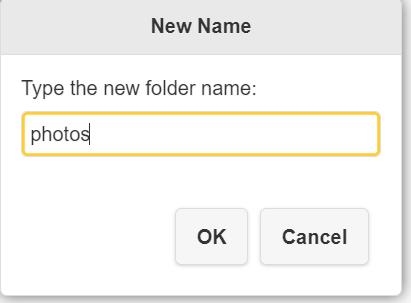
Make sure you do not have any spaces nor special characters in the folder name. So for instance, if you want the folder to be called Flower Images, the correct way to call it in the CMS would FlowerImages.
Add an image
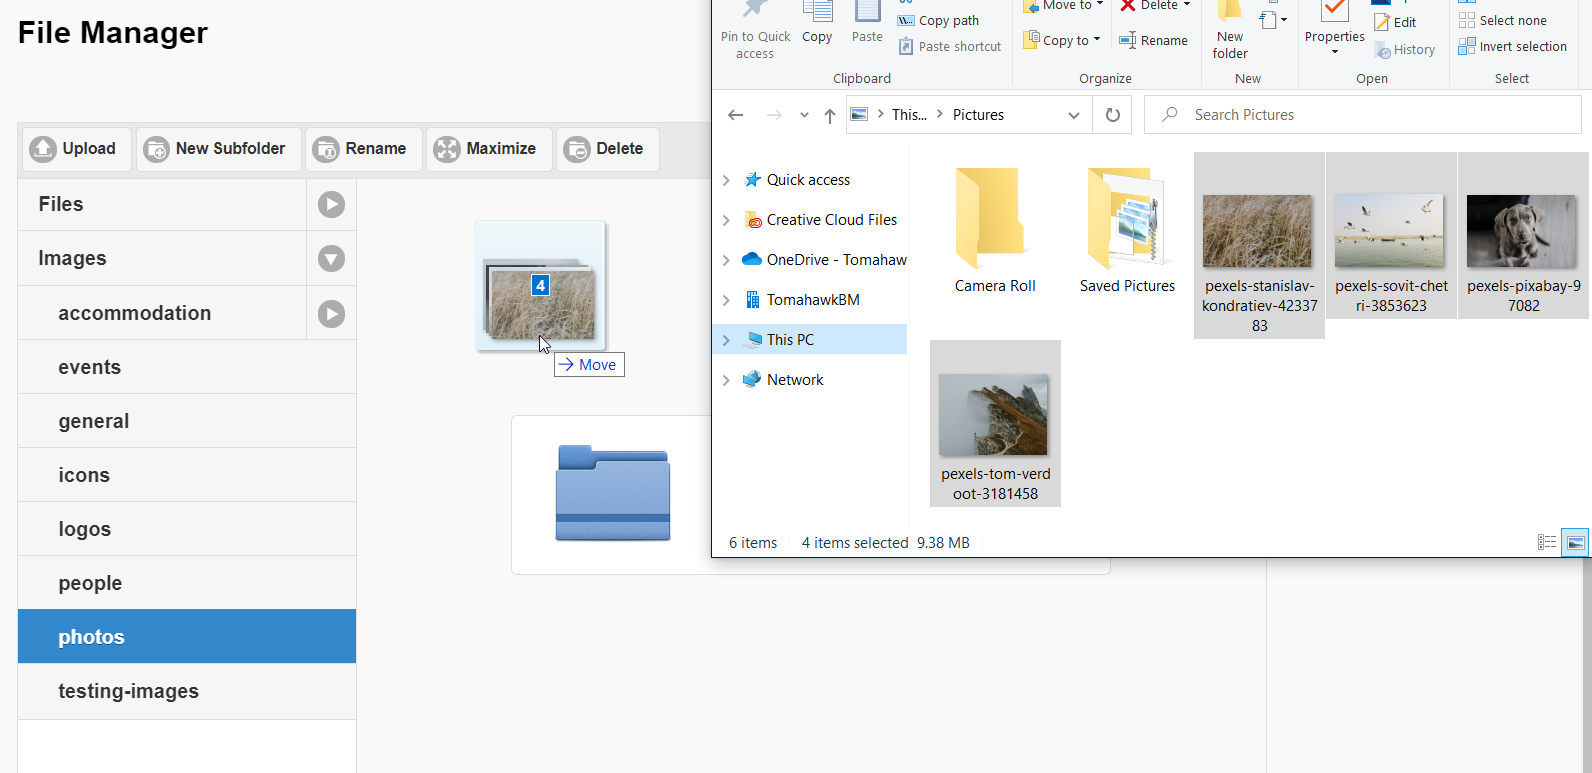
To upload images to the website do the following:
- Open a folder in the File manager you would like to upload images into
- Open a folder on your computer where you want to take the images from
- Drag and drop images from a folder on your computer to a folder in the File Manager

- Wait for the upload to finish
- Now you have images in the File Manager folder
Tips to add optimal images
- Name the images and the folders in the file manager of the CMS correctly: without spaces nor special characters in the name
- Ensure that the images are the correct file type, preferably .jpg and not .jpeg
- Upload images of less than 1MB, which ensures they are fast to load and don't slow the website down
- Choose images that are at least 1920x1080 pixels in size.

