How to create a slideshow [Websites prior to 2019]
Creating a New Slideshow
PrintIf you would like to add a new slideshow onto a page that does not previously have a slideshow added, here is how to do it:
Login to the back-end of your website (CMS).
On the left hand side, click the 'Slideshow' module.
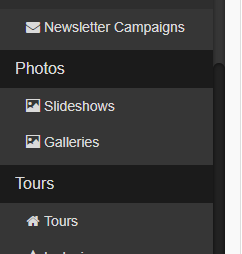
This will show you all the slideshows you have created.
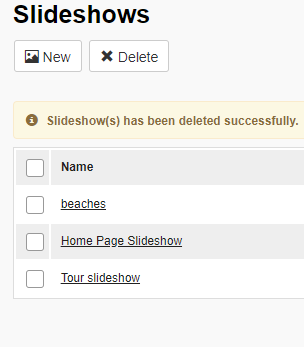
Click the button at the top that says 'New'

Fill in the name (it is good to label it as the same as the page name) and we suggest ticking the auto-rotate option if it is available
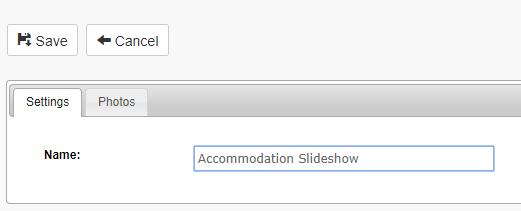
To add images into this Slideshow, click the blue button 'Add new slide'. This will open the file manager. In the file manager double click on the image you would like in your slideshow. It will then appear under the photos tab
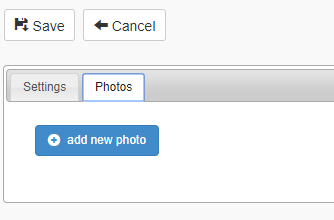
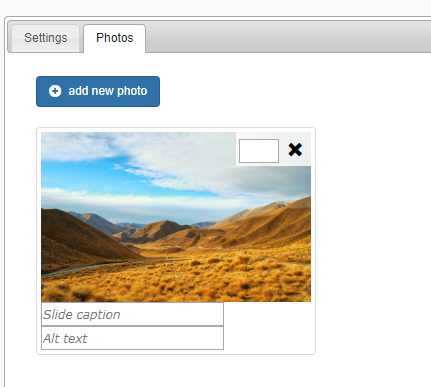
You can give your images a ranking (the order in which the images will appear). You can also provide a caption and alt-text, and other fields may be available based on the website functionality you have
If you want to delete an image, simply click the 'x' in the top right corner of the image
To save the slideshow, now click the 'Save' button at the top
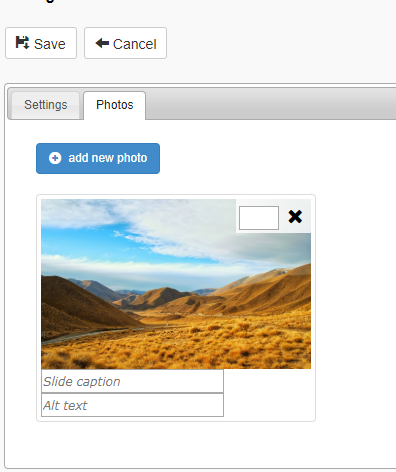
Right now, your new slideshow is just sitting in the slideshow module and hasn't been added to the front-end of the website yet. To do this go to your Pages module and click into the page you would like the slideshow added to
Go across to the settings tab
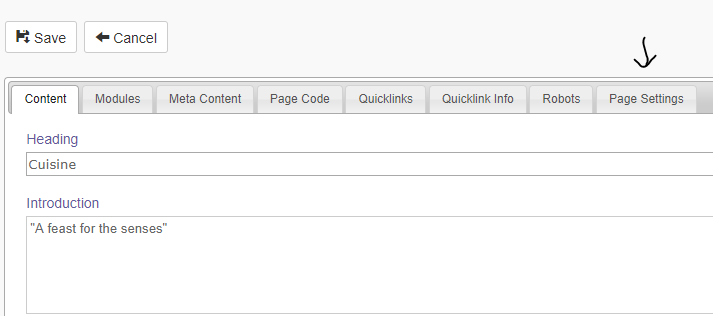
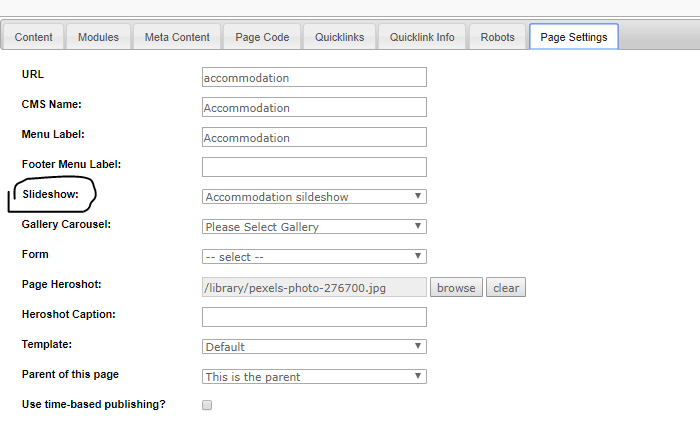
There is a slideshow dropdown - click this and you will see all the slideshows you have made
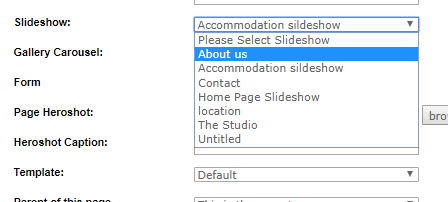
Don't forget to click 'Save' on your page, and to check the frontend to make sure the slideshow is working correctly

