
A 4XX, or 404 error is usually the result of a page that cannot be found after clicking on a link to a page, sometimes called a broken link. Redirects are important to support the health of the platform's Search Engine Optimisation (SEO), and running regular site audits is a great way to pick up any pages that may be producing a 4xx error meaning that a webpage cannot be accessed.
Here are some common reasons why you would need to create a redirect:
-
A spelling mistake in the URL field when you first created a page
-
A Parent Page has been moved to become a Child Page e.g.: www.tomahawk.co.nz/accommodation to www.tomahawk.co.nz/stay/accommodation
-
A page has been moved e.g.: www.tomahawk.co.nz/stay/accommodation to www.tomahawk.co.nz/activities/accommodation
-
The page has been Unpublished, Moved to Trash or Deleted
Create a Redirect
Before you create a redirect, you will first need to confirm the URL you no longer want people to access, and then unpublish the page, so that it no longer appears on the front end. It is better to unpublish the page versus deleting the page so that the content is retrievable in the future if needed.
In the case where the page has moved or the URL has been updated, there is no need to unpublish a page we will just be pointing people from the original location to the new one.
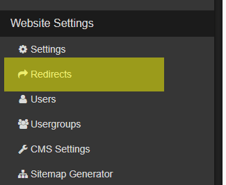
- Navigate to the General Settings section of the CMS, then select Redirects.
-
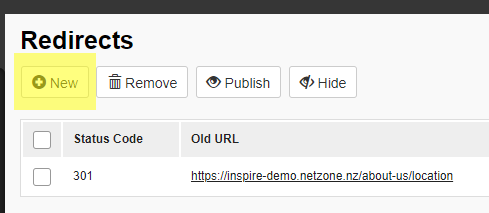
You'll see a list view of all published and drafted redirects, which you can edit, publish, unpublish or delete as well as the ability to create a new redirect.
To create a new Redirect, click on the + New button at the top of the page.
- Old URL: Enter the URL of the page you no longer want people to access.

- New URL: Enter the new URL you want people to be directed to.
- Click Save at the top of the page.
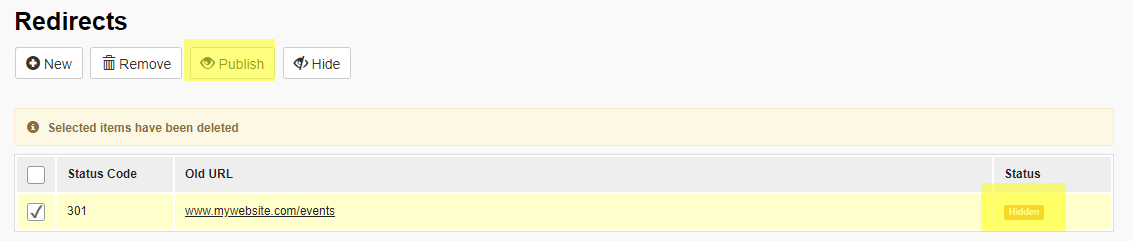
- You will be taken back to the Redirects list, tick the checkbox for the Redirect you have just created (it will have the Old URL as the name in this list) then select Publish.
- To test that your redirect is working, go to the front end of your website, and enter the Old URL. It should automatically redirect you the New URL

💡Things to Remember:
- Is the Old URL still being used within other modules such as behind the CTA on Quicklinks? This will make the Quicklinks display a 404 error when clicked, so these URLs will also need to be checked/updated when you publish a redirect.
- Is the redirect working? To test that the Redirect is working, copy the Old URL in the From field into a new browser tab to search for the old page, and confirm that this is directing you to the New URL.
- Redirects are automatically created as permanent redirects (301). The other type of redirect to be aware of is a temporary redirect (302). A 301 redirect signals to search engines that your page has moved and that the URL has changed permanently i.e. a spelling error in the URL, the page has moved location within the platform, or the page has been deleted. A temporary change such as the page has been unpublished and is planned to be restored to the same URL eventually is a 302. These are items that you may see flagged in SEO Audits.
- There are times where you may need to publish a Page that you created a Redirect from, using this as the Old/From URL. In this scenario you can Hide or Delete a Redirect with the Redirect list.