

In this guide we will cover:
-
How to add social media icons to your website (for websites built after 2023)
- How to edit social media icons published on your website (for websites built after 2023)
- How to unpublish or remove social media icons published on your website (for websites built after 2023)
-
How to add social media icons to your website (for websites built prior to 2019)
How to add social media icons to your website (for websites built after 2023)
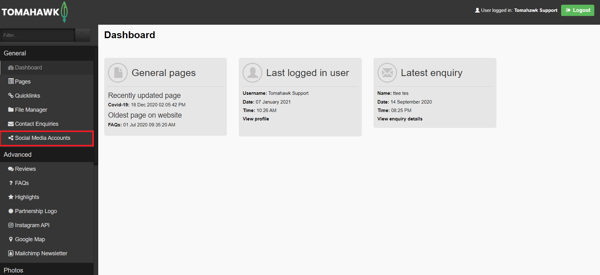
- Login to your website CMS using your Username and Password.
- Navigate to the General menu, then select Social Media Accounts.
- You will see the list of existing social media accounts that have been created.
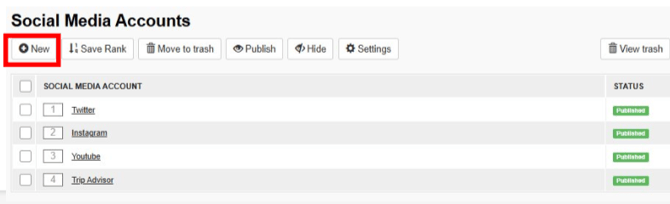
- You can either click on an existing social media account to open and edit or click + New button at the top left of the page to add a new one. Let's create a new Social Media Account for facebook by selecting + New.
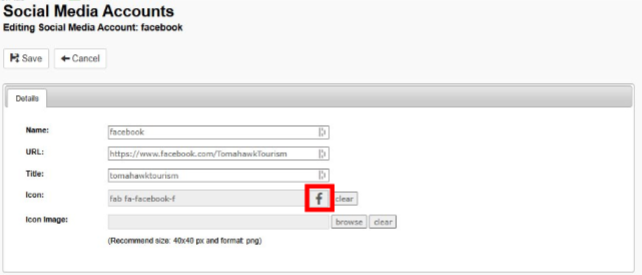
- Once the Social Media Accounts editor is open you will need to complete fields within the Details tab for::
- Name: This is the name of the social media account that you're adding e.g.: facebook This will display on the front end when you hover your cursor over the icon
- URL: Copy and paste the URL of your social media account into this field e.g.: https://www.facebook.com/TomahawkTourism
- Title: Enter the social media account name in the title field e.g. tomahawktourism
- Icon: Click on the grey square as shown in the image below to display a list of social media icons available, and select the icon that best suits the social media account. Or;
- Icon Image: If you do not want any of the icons you can upload an image of the icon that you prefer by clicking "browse". This will open File Manager where you can upload a new icon to select.
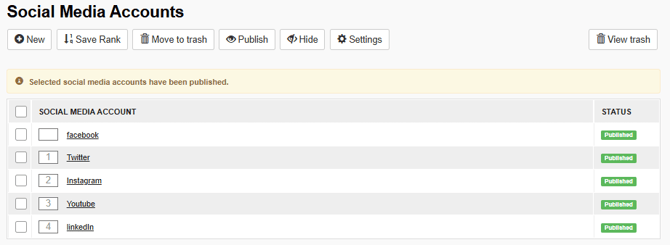
- When all field have been completed, select Save at the top left of the page to save your changes. You will be taken back to the list of all Social Media Accounts where you will see the facebook social media account saved, but not yet published and displaying on the footer.
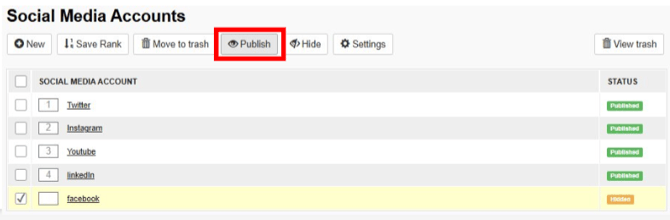
- Tick the checkbox next to your Social Media Account you want to publish, then select Publish. Your Social Media Account icon will now be displaying on the footer of your website.

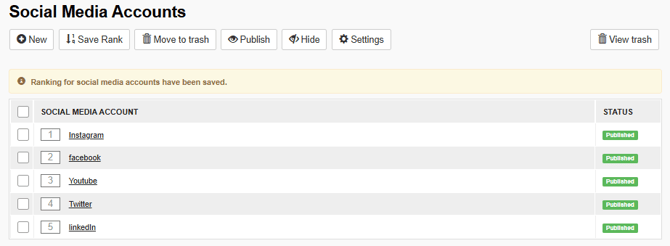
- To update the order that the icons are displaying in on the front end you will need to update the rank or numbers set against each social media account, and then select Save Rank. For example to update the current order to feature instagram first, facebook second, YouTube third, Twitter fourth, and LinkedIn fifth you will need to update the ranks to instagram =1, facebook =2, YouTube =3, Twitter =4, and LinkedIn =5, then select Save Rank. This will update the front end in this new order.

You can also refer to our video on the Pages Settings Tab (it is showing the version deployed for websites built between 2019 and 2023, so you might notice some slight differences in your CMS if your website was built in 2023 or after).
How to edit social media icons published on your website (for websites built after 2023)
- Login to your website CMS using your Username and Password.
- Navigate to the General menu, then select Social Media Accounts.
- You will see the list of existing social media accounts that have been created. Click an existing social media account to open and edit.

- Once the Social Media Accounts editor is open you are able to edit fields within the Details tab for::
- Name: This is the name of the social media account that you're adding e.g.: facebook This will display on the front end when you hover your cursor over the icon
- URL: Copy and paste the URL of your social media account into this field e.g.: https://www.facebook.com/TomahawkTourism
- Title: Enter the social media account name in the title field e.g. tomahawktourism
- Icon: Click on the grey square as shown in the image below to display a list of social media icons available, and select the icon that best suits the social media account. Or;
- Icon Image: If you do not want any of the icons you can upload an image of the icon that you prefer by clicking "browse". This will open File Manager where you can upload a new icon to select.
- When all changes have been made, select Save at the top left of the page and you will be taken back to the list of all Social Media Accounts. If the Social Media Account you have made edits to was published, your edits will be updated on the front end and displaying on the footer.
How to unpublish or remove social media icons published on your website (for websites built after 2019)
- Login to your website CMS using your Username and Password.
- Navigate to the General menu, then select Social Media Accounts.
- You will see the list of existing social media accounts that have been created. Tick the checkbox next to the Social Media Account that you would like to no longer appear on the front end.
-
- Hide: Tick the checkbox next to the name of the social media account, then select the Hide button. The social media account will no longer be visible on the front end however; will still display in this list with a status of
 so can be published again at any stage.
 - Move to Trash: By checking the tick box next to asocial media account, and then selecting Move to Trash, this will instantly move a social media account from this list and file it in the Trash. It will also unpublish the social media account , so it will no longer display on the front end.
- View Trash: If you do wish to restore a social media account, selecting View Trash will allow you to view all items that have been moved here. The good news is that if you wish to restore this item, simply select the check box next to the social media account you want to work with again and select Restore. This will move the item from the Trash list to the social media account list but, it will have a HIDDEN (orange) status. You will need to select the checkbox next to the item in the list and then select the Publish button to make the social media account visible again on the front end. You have two choices to remove the social media account from the front end.
- Hide: Tick the checkbox next to the name of the social media account, then select the Hide button. The social media account will no longer be visible on the front end however; will still display in this list with a status of
For websites built prior to 2019
- Log into your CMS
- Click on ''Settings'' under '' Website Settings"
- Click on Social Links
- Copy and paste your relevant social media links in the fields given
- Click Save
💡 Things to remember:
-
If you do not want to use any of the icons in the Icons field, you can upload an image to File Manager and select this from the Icon Image field.
-
When uploading an image to be used as the social media icon, please use images of 40 pixels high x40 pixels wide and in and in png format.