Websites built in 2023 onwards
To add a pixel to your website:
- Go into your website CMS
- Go to the General Pages module
- Go into the page you want to add your tracking pixel to
- Go to the SEO tab
- Paste the code into the appropriate field of the template codes - Head Code, Opening Body Code or Closing Body Code. Usually tracking Pixels are placed in the Head Code field, but please refer to the instructions provided when you generate the pixel.
Websites built prior to 2019
Please be aware that not all websites built prior to 2019 will have the 'Page Code' functionality. Please get in touch with us, if you require a pixel to be implemented onto your website.
To add a pixel to your website:
- Go into your website CMS
- Go to the General Pages module
- Go into the page you want to add your tracking pixel to
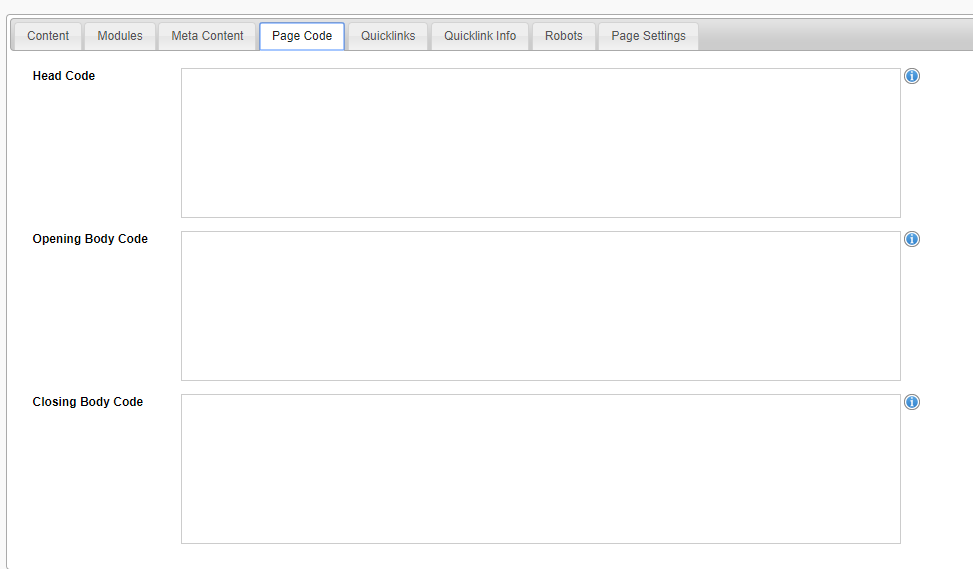
If you want general tracking of the whole website, go into the CMS Settings Module - template code tab - Go to the 'page code' tab

- Paste the code into the appropriate field - Head Code, Opening Body Code or Closing Body Code. Usually tracking Pixels are placed in the Head Code field, but please refer to the instructions provided when you generate the pixel.