
In this guide we will cover:
-
Image sizes you will need for a Hero Banner for the Home Page or an Internal Page
-
The four types of Hero Banners you can create within the Photos Module
Create a Hero Banner
- Login to your website CMS using your Username and Password
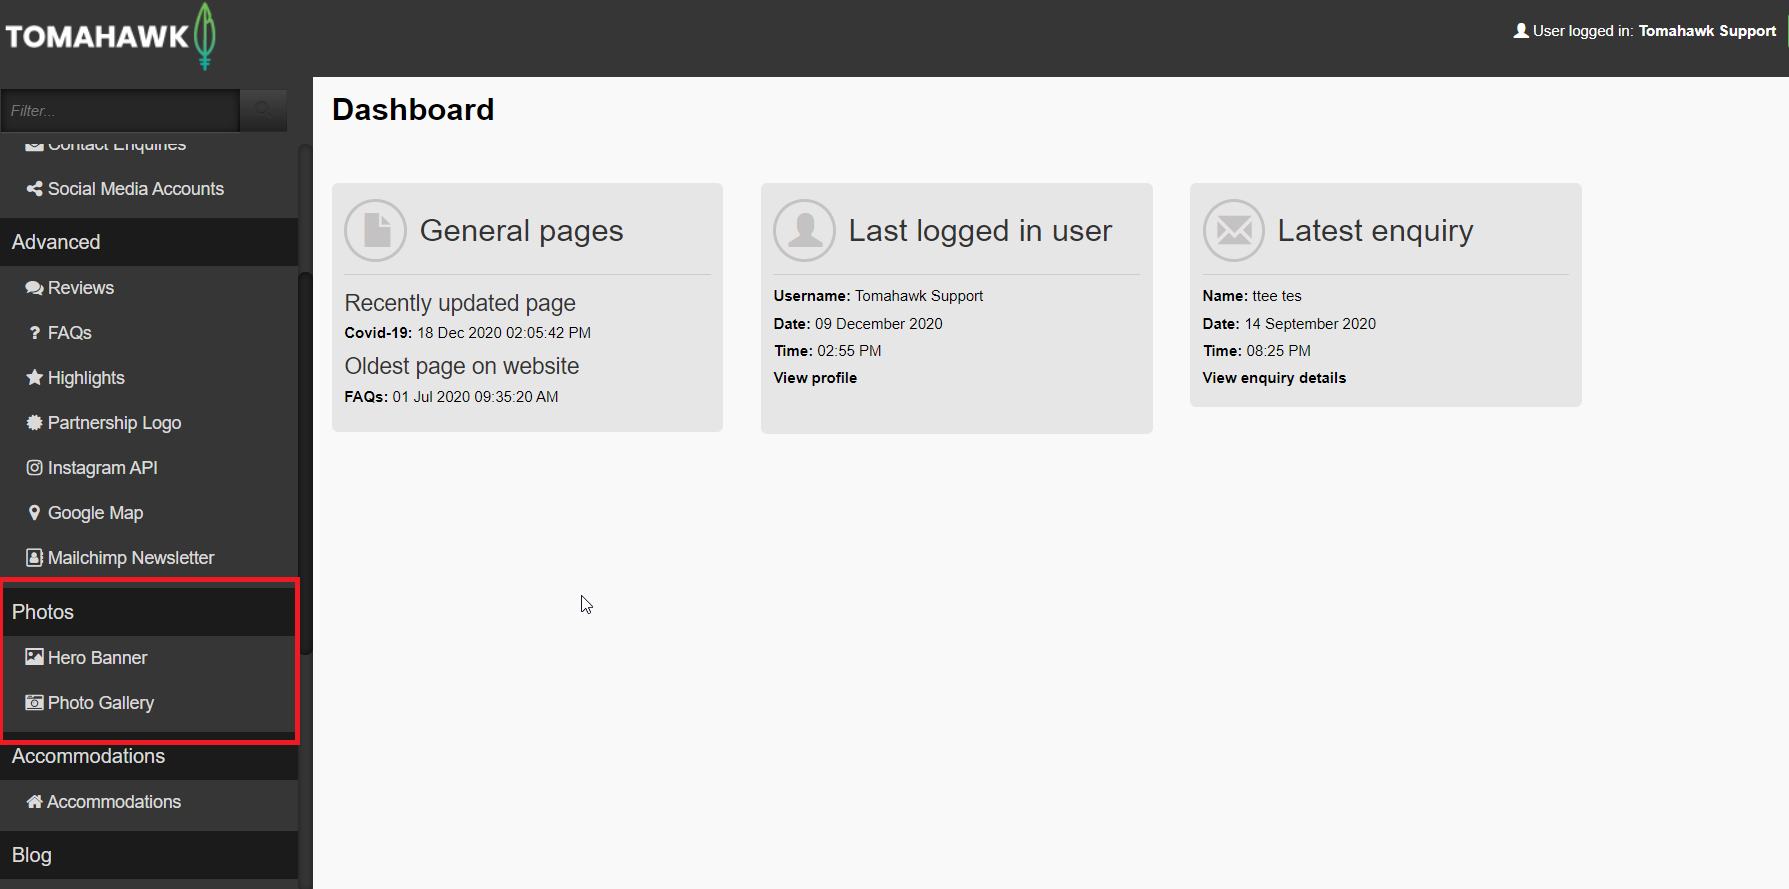
- Once logged in, scroll down the left sidebar until you see the Photos Module
-
Select Hero Banner, and you see a list of all existing Hero Banners

-
Select the
 button at the top of the page to create a new Hero Banner
-
Inside of the editor, you would need to fill in:
-
Hero Banner Name: It is a good idea to name your Hero Banner after the name of your page so it is easy to identify when it comes time to add this to a page e.g. Home Page Hero Banner, Contact Us Hero Banner
- Hero Banner Cover Logo (optional): In this field you can upload a logo that will display on top of your Hero Banner image (that you will upload in the next section), in the top right position.
-
- Choose one option: In this section you have four options to choose from as to how you would like your Hero Banner to display. You will need to toggle on the option you wish to display on the page, and then select the corresponding tab to complete the required fields.
1) Image: This is the option that is widely used across most websites. This option allows you to set a single image for a Hero Banner. Ensure that you have this toggled on, and you can now complete the fields within the Image tab:
- + Add Image: In this field you will select a single image from File Manger that will populate the Hero Banner. We recommend using .jpg images of 1920 px x 1080 px for the Home Page and 1920 px x 500 px for Internal pages.
- Title (optional): In this field you can set a title that will populate over a text box with a coloured background. This is a free text field and should be limited to around 30 characters including spaces.
- Subtitle (optional): This free text field is a great way to help introduce content further down the page or expand any details mentioned in the Title. This should be kept brief and between 80 – 150 characters.
- Alt Text: A great way to support search by adding in a brief description of what appears in the image. Alt text (alternative text) describes an image on a page, helps visually impaired people understand what the image shows so it is good for accessibility, helps search engine bots understand image contents, and appears on a page when the image fails to load.
- Button Text (optional): Enter text for a CTA button. If no text is added here, there won't be a button displayed on your image, even if a Button URL has been entered.
- Button URL: Should you wish to direct a user offsite, or to a page within the website enter the full URL to direct the user to this page.
- Youtube ID: Add in the YouTube ID from a video that is publicly available on the platform. The YouTube ID can be found at the end of your video URL. For example, the ID for https://www.youtube.com/watch?v=RWv6oTkXkZo is RWv6oTkXkZo
- Title (optional): In this field, you can set a title that will populate over a text box with a coloured background. This is a free text field and should be limited to around 30 characters including spaces.
- Subtitle (optional): This free text field is a great way to help introduce content further down the page or expand any details mentioned in the Title. This should be kept brief and between 80 – 150 characters.
- Mobile Image: In this field you will select a single image from File Manger that will display on mobile and tablet devices. The CMS will automatically add a play button overlay to encourage a visitor to the Page to click on it to play the video.
- Alt Text: A great way to support search by adding in a brief description of what appears in the image. Alt text (alternative text) describes an image on a page, helps visually impaired people understand what the image shows so it is good for accessibility, helps search engine bots understand image contents, and appears on a page when the image fails to load.
- Button Text (optional): Enter text for a CTA button. If no text is added here, there won't be a button displayed on your image, even if a Button URL has been entered.
- Button URL: Should you wish to direct a user offsite, or to a page within the website enter the full URL to direct the user to this page.
3) Slideshow: This option allows you to select a set ofimages to display on the Hero Banner as a carousel or slideshow. You have options to set the speed of the progression of the images, and on the front end a user can progress through the images by selecting the dots above the Title of the coloured text box that displays over the image. Ensure that you have selected toggled Slideshow on, and you can now complete the fields within the Slideshow tab for:
- Slideshow Speed: Select from this drop-down list how long a slide stays before moving to the next slide. The minimum speed is 3 seconds with options to select from up to 10 seconds.
- Gallery Banner: For the slideshow option, you will need to leave this tick box unchecked. It will be covered in more detail in Slideshow Gallery Banner.
- + (Add Image): You'll see that there are six spaces available for you to add images to sit within the Slideshow, and you'll need a minimum of two images for the slideshow to display. We recommend using .jpg images of 1920 px x 1080 px for the Home Page and 1920 px x 500 px for Internal Pages. Select the + icon which will open File Manager to allow you to select an image. Once an image has been selected, this will display a pop-up for you to set the following fields on every image you add to the slideshow.
- Title (optional): In this field you can set a title that will populate over a text box with a coloured background. This is a free text field and should be limited to around 30 characters including spaces.
- Subtitle (optional): This free text field is a great way to help introduce content further down the page or expand any details mentioned in the Title. This should be kept brief and between 80 – 150 characters.
- Alt Text: A great way to support search by adding in a brief description of what appears in the image. Alt text (alternative text) describes an image on a page, helps visually impaired people understand what the image shows so it is good for accessibility, helps search engine bots understand image contents, and appears on a page when the image fails to load.
- Button Text (optional): Enter text for a CTA button. If no text is added here, there won't be a button displayed on your image, even if a Button URL has been entered.
- Button URL: Should you wish to direct a user offsite, or to a page within the website enter the full URL to direct the user to this page.
- Slideshow Speed: This field can be ignored as once the Gallery Banner checkbox is ticked the Slideshow Speed is disabled.
- Gallery Banner: Tick this checkbox to change the Hero Banner from a Slideshow to a Slideshow Gallery Banner.
- + (Add Image): You'll see that there are spaces available for you to add up to six images to sit within the Slideshow Gallery Hero Banner. You'll need a minimum of two images for this option, otherwise it is best to use the Image tab for a single image. We recommend using .jpg images of 1920 px x 1080 px for the Home Page and 1920 px x 500 px for Internal Pages. Select the + icon which will open Fie Manager to allow you to select an image. Once an image has been selected, this will display a pop-up for you to set the following fields on every image you add to the slideshow. However, only the Alt Text field is required. Entering text into the other fields on the pop-up will not display on the front end.
- Alt Text: A great way to support search by adding in a brief description of what appears in the image. Alt text (alternative text) describes an image on a page, helps visually impaired people understand what the image shows so it is good for accessibility, helps search engine bots understand image contents, and appears on a page when the image fails to load.
-
Save: Select Save at the top of the page, and you will be taken back to the list of all Hero Banners created.
Add a Hero Banner to a Page
- Once you have created your Hero Banner within the Photos Module, head to the General menu within the CMS, then select Pages. Select the Page you want to add a Hero Banner to, then select the Settings tab.
- Select the drop-down arrow on the Hero Banner field to display the list of all Hero Banners available. Select your Hero Banner, and once you have completed any other edits to this Page, select Save at the top of the page to save your changes. Once your page is published, make sure to review how your Page is looking on the front end.
💡 Things to Remember:
When uploading an image to File Manager ensure that:
- There are no spaces in the file name or folder
- File Manager prefers .jpg images. Not .png, or .jpeg file names. Files with different file types can be uploaded and then renamed e.g.: .png > .jpg
- The recommended image size for a Hero Banner on an Internal Page is 1920 pixels wide x 500 pixels high. When an uploaded image is not wide enough, the CMS will resize the image to fit the space which will result in the top and bottom of the image being ‘cut off’ with the priority being to fill the width first, then centre the image. It is best to upload the image to a template first, such as Canva, so that you can resize and center to the best position the image content and then upload this to the CMS.