
In this guide we will cover:
What is the File Manager
File Manager is a library of images, photos and documents within the CMS, that you can save files to.
Whenever you are creating a Quicklink, Highlight, Hero Banner or Page Content you will need imagery for these modules.
Media Files can be upload to File Manager before you start working on a page or uploaded at the time you are editing a page.
The key to being able to easily locate a media file to use when you are creating a Highlight for example, is to name your subfolders after the content they will be used on e.g.: Highlights so that you can easily navigate to the file path.
File Manager prefers .jpg images. Not .png, .JPG or .jpeg file names. Files with different file types can be uploaded and then renamed e.g.: .png > .jpg
You are also able to upload .PDF documents.
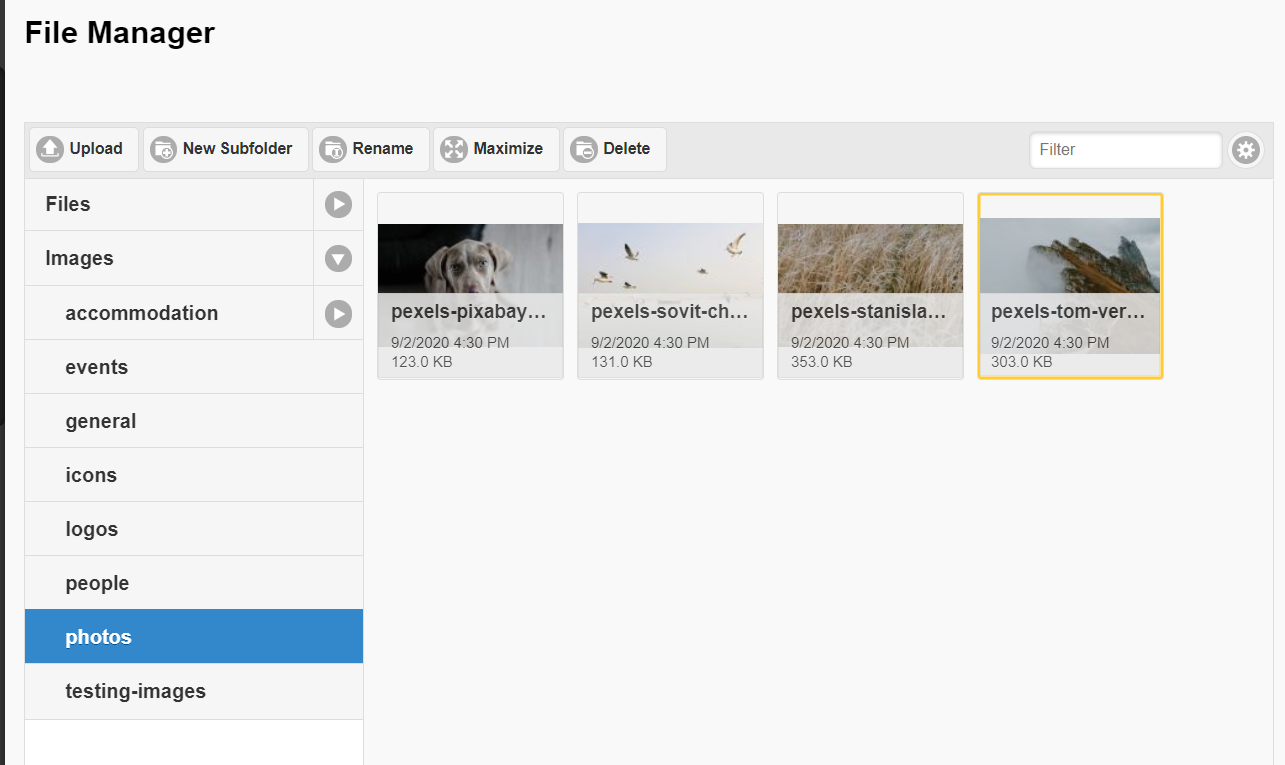
What are Master Folders and Subfolders
You will notice that when you first open File Manger that there are two Master Folders for Files and Images. These cannot be deleted or renamed as they act as the Master folders that house all other subfolders you will create.
So you will create new folder or subfolder that stems from one of these two Master Folders.
How to upload files to File Manager
-
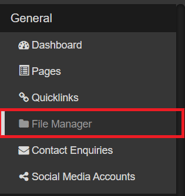
Login to the CMS using your Username and Password, the navigate to the General section of the CMS, then select File Manager.
- You'll see that there are already two Master Folders that have been created, as well as Subfolders that are nested within each Master Folder.

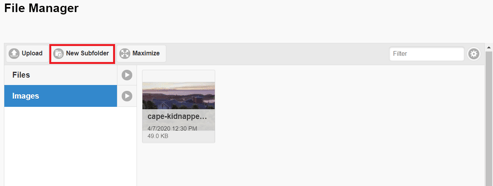
- To upload a file to an existing Master Folder or Subfolder, select the folder until it is highlighted in blue, then select + New Folder at the top of the window.
- To create a new Subfolder, select the Master Folder you would like to nest the new folder under, until it is highlighted in blue, then select + New Folder at the top of the window. This will display a pop-up where you will type in the new folder name.
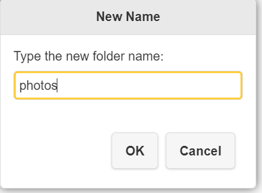
- When naming a file or subfolder, ensure that there are no spaces or special characters in the name. This is because you are creating a pathway from a content Item such as a Highlight back to the image in the subfolder, just like a URL, so a space with break the link back to the image. Instead of spaces, use no spaces or hyphens e.g.: HomePage or Home-Page not Home Page.
- Now select OK to save your Subfolder.
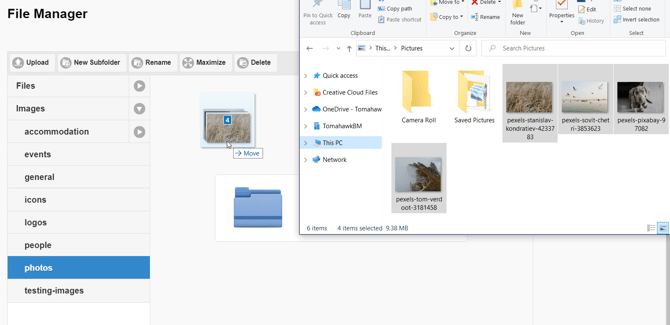
- Locate the Subfolder you have just created, and select this until it is highlighted in blue, now select + Upload. This will open File Explorer from your computer where you can select single or multiple files to upload to your Subfolder.
- Select the images from your computer that you want to upload to your newly created Subfolder, then select Open. You can also and drop images from File Explorer to a Subfolder.
- You will see a status bar within File Manager showing the progress of your upload, once the upload has finished, your files will be displayed in alphabetical order. The uploaded images are now saved and ready to be selected for your content.
- You are also able to upload images to File Manager when you are creating content such as Highlights, Quicklinks, Hero Banners and Page content. See our guide on How to add an image to a page.
💡 Things to Remember:
- You are not able to create new folders, only subfolders from the Files or Images Master Folders.
- Before you select the upload button, make sure that you have selected the folder or subfolder (it is highlighted in blue) that you wish to upload the media file to.
- When naming a file or subfolder, ensure that there are no spaces in the name. This is because you are creating a pathway from a content Item such as a Highlight back to the image in the subfolder, just like a URL, so a space with break the link back to the image. Instead of spaces, use no spaces or hyphens e.g.: HomePage or Home-Page not Home Page.
- Upload images of less than 1MB, which ensures they are fast to load and don't slow the website down