
Within the Rich Text Editor (RTE) that you will find within a General Page are a few options to help you display content and keep the look of this consistent down the page, or highlight important information.
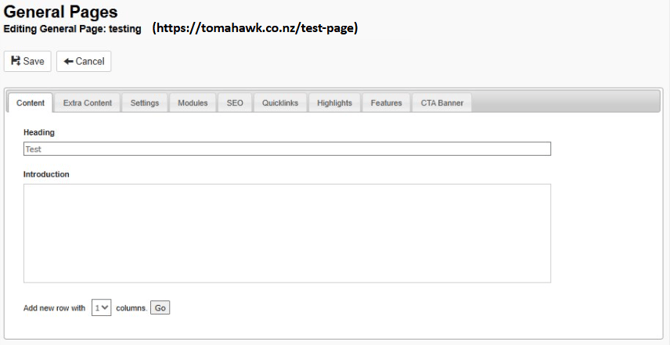
Let's start by looking at a General Page, and the what options you have within the Content tab.
-
Login to the CMS, and navigate to the General Menu, then select Pages. You can open an existing Page or create a new page. Now select the Content tab.
- You'll see that there is an option to
 . You can select up to four columns to display in one row. Let's select 1 row from the drop-down, then select Go. This will display the Rich Text Editor.
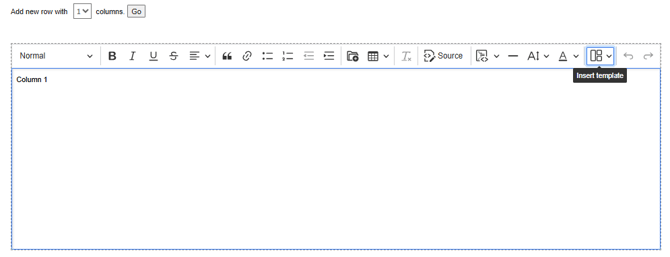
- Next let's hover over the Insert Template icon
 which will reveal the template options you have available to choose from.
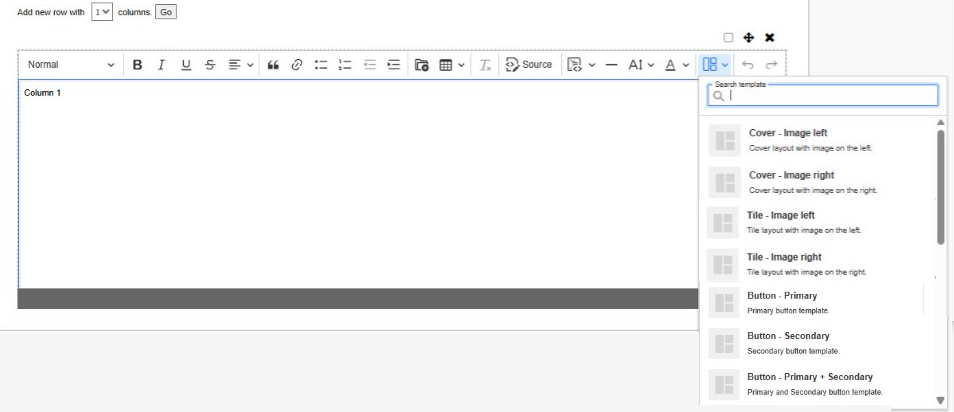
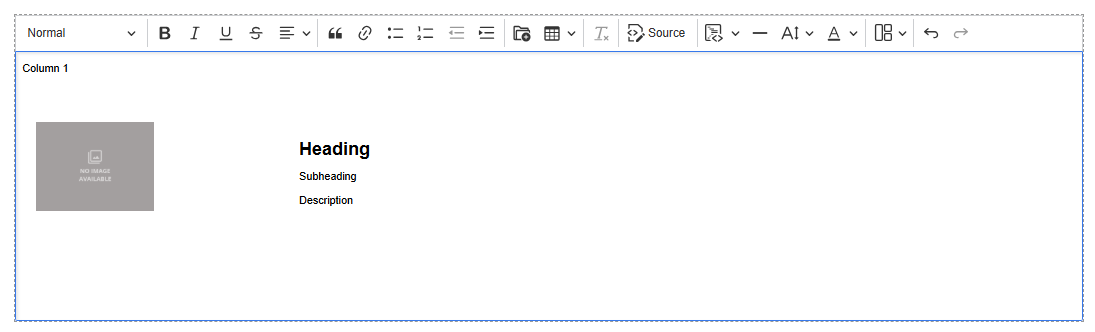
- Cover - Image left: A template that displays a small, left aligned image, Title, Introduction, and Description or CTA button. Great for introducing new content on a page. Simply click on the grey square that will take you to the File Manager to choose an image. Then, highlight the Heading or Description to replace this with your own text.

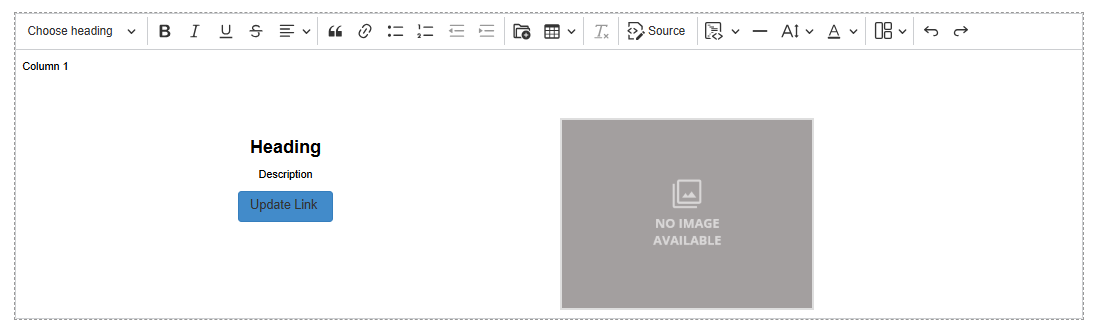
- Cover - Image right: A template that displays a small, right aligned image, Title, Introduction, and Description or CTA button. Great for introducing new content on a page. Simply click on the grey square that will take you to the File Manager to choose an image. Then, highlight the Heading, Introduction, and Description or CTA button to replace this with your own text.

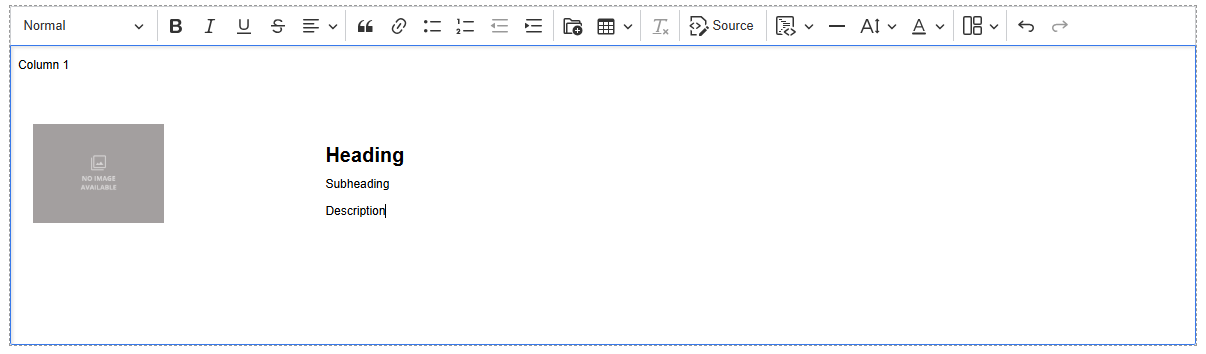
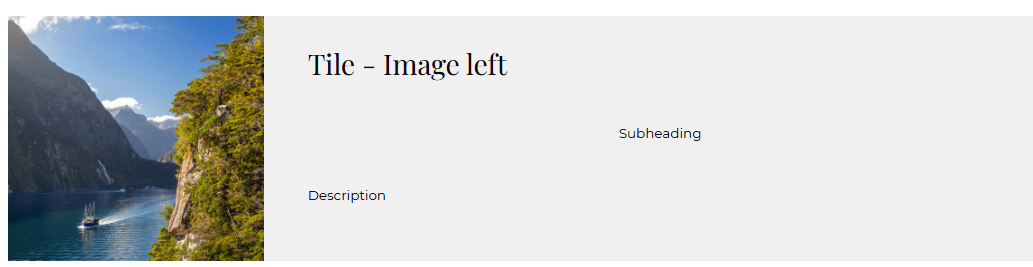
- Tile - Image left: A template that displays a larger, left aligned image, Heading, Subheading, and Description. Simply click on the grey square that will take you to the File Manager to choose an image. Then, highlight the Heading, Subheading, and Description to replace this with your own text.
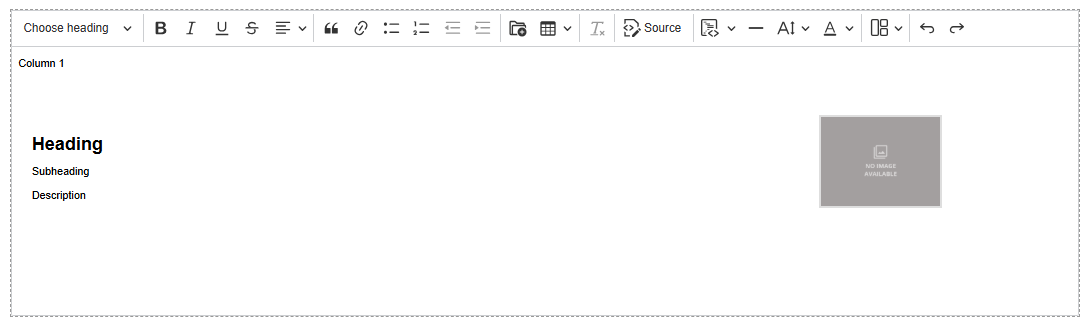
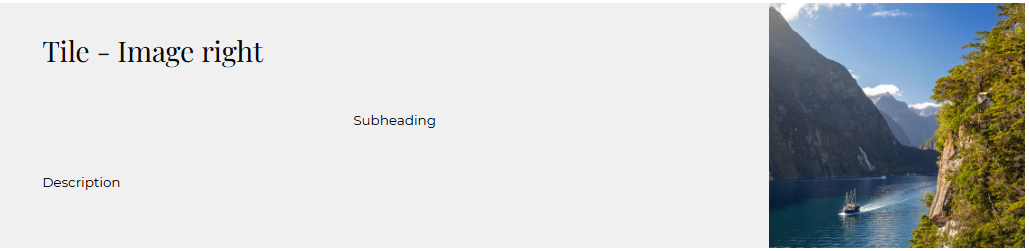
- Tile - Image right: A template that displays a larger, right aligned image, Heading, Subheading, and Description. Simply click on the grey square that will take you to the File Manager to choose an image. Then, highlight the Heading, Subheading, and Description to replace this with your own text.
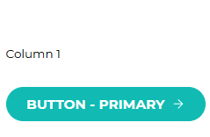
- Button - Primary: This option allows you to set a CTA button to link a user to another page on the site, or to an external URL offsite. The CTA button colour is normally set in your websites primary brand colour. Highlight the text inside the CTA button to replace this with your own text to display on the CTA button, then select the button to display the pencil icon to update the URL for the page you would like to point people to. It is best practice to toggle on the option to Open in a new tab if you are directing visitors to your website to an external website.
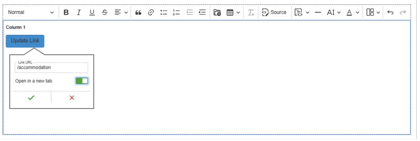
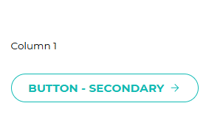
- Button - Secondary: This option allows you to set a CTA button to link a user to another page on the site, or to an external URL offsite. The CTA button colour is normally set in your websites secondary brand colour. Highlight the text inside the CTA button to replace this with your own text to display on the CTA button, then select the button to display the pencil icon to update the URL for the page you would like to point people to. It is best practice to toggle on the option to Open in a new tab if you are directing visitors to your website to an external website.

- Button - Primary + Secondary: Like the Primary and Secondary buttons, this option from the Template drop-down menu allows you to set CTA buttons to link a user to another page on the site, or to an external URL offsite. When selected, it will display two CTA buttons with arrows at the end of the text, one with a red fill and white text, and a second with a blue fill and white text in a row. It is recommended to use the Primary and Secondary button options as these can be more easily formatted to be centered.
- Save: When you have finished all your changes to a Page, select Save at the top of the page.
💡 Things to remember:
- Before you select a template, type is some text to act as a placeholder, then hit Enter to set your cursor on the next line down; you can now select a template. After inserting a template, add your cursor to the first line of text you typed, then hit enter again and insert your next template. This helps to keep consistent spacing between each template down the page.
- When inserting an image to be used within a template don't forget to click on the image and select the Change image text alternative icon
 and enter Alt Text to support the website's site health.
 - The style of text and use of colours throughout these templates will be unique to you and the design of your website.